Uploading data from an existing inventory
The following walkthrough describes how to transfer and upload information you may have in an existing inventory.
Uploading from a spreadsheet has to be done on a computer through the web browser (either Firefox or Chrome).
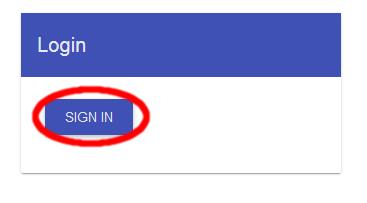
Navigate to https://manchester.uk.labcup.net/ and click ‘SIGN IN’.
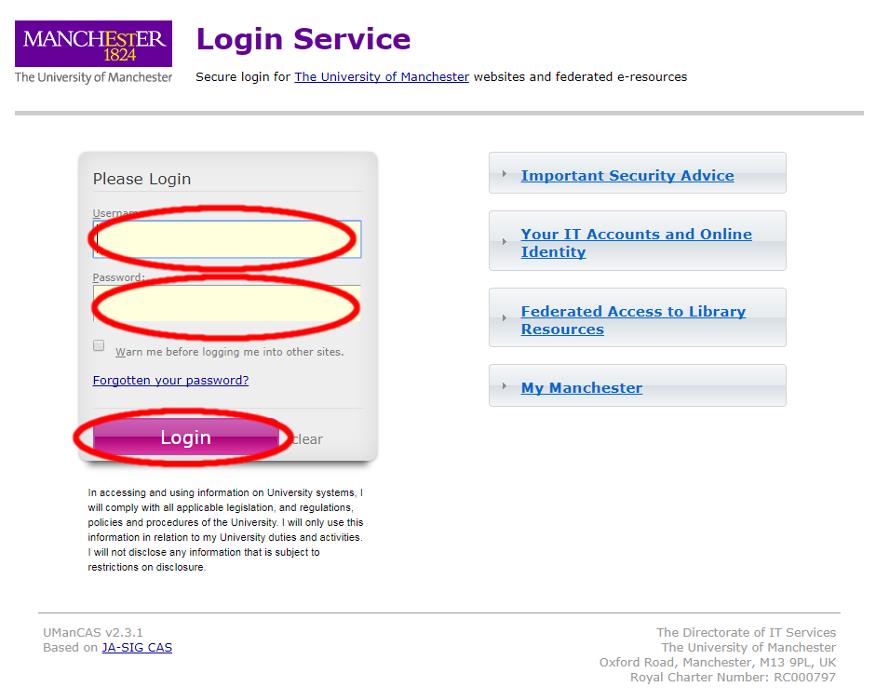
Use your University CAS login as normal, then click ‘Login’.
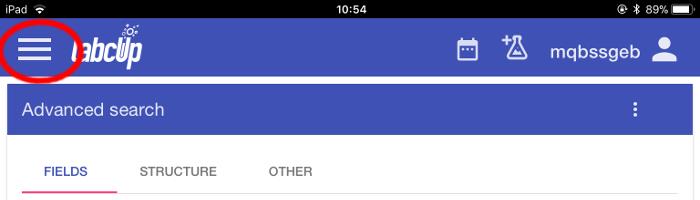
From the main LabCup screen, click the menu button in the top left-hand corner.
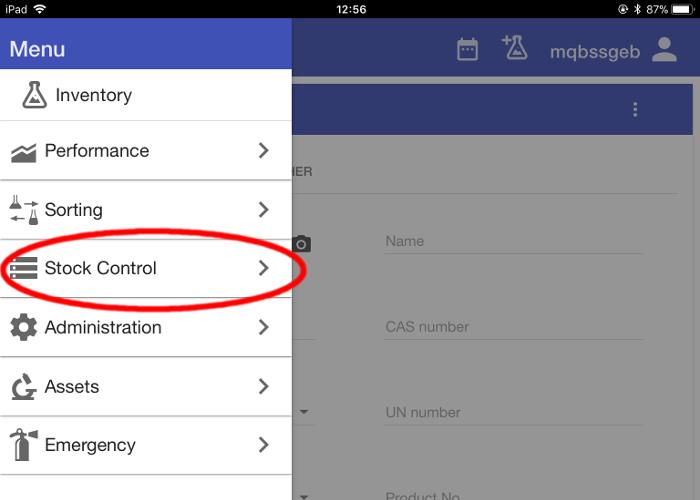
Select the ‘Stock Control’ menu item.
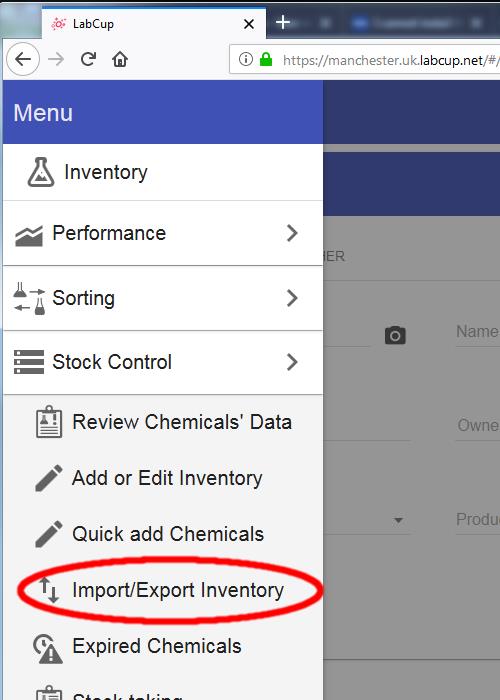
Select ‘Import/Export Inventory’ from the menu.
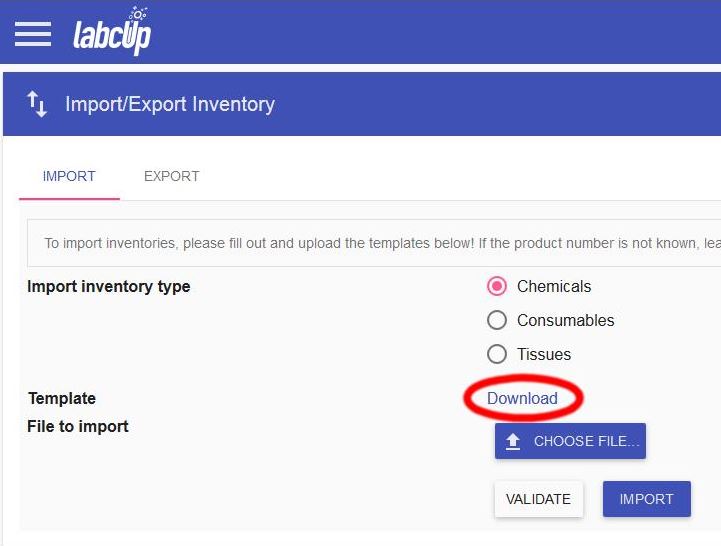
From the Import/Export Inventory, download the import template file by clicking on the word ‘Download’.
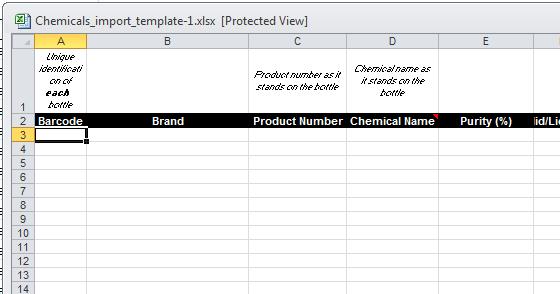
Open the template. Transfer data from your existing inventory using copy and paste.
For each item, there must be an entry in the ‘Brand’, ‘Product Number’, ‘Chemical Name’, ‘Quantity’, ‘Laboratory’, ‘Location’ and ‘Group’ columns.
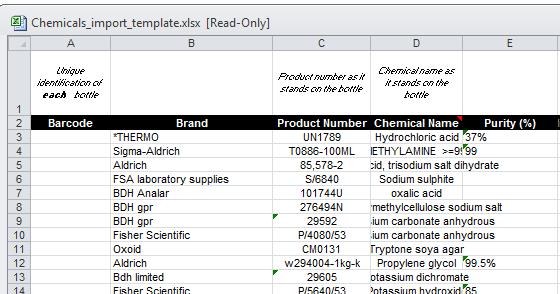
Once the data is in the spreadsheet, use the barcode stickers provided to label all the chemical bottles – entering each unique Barcode number in the column for the corresponding chemical.
Save the spreadsheet and return to LabCup.
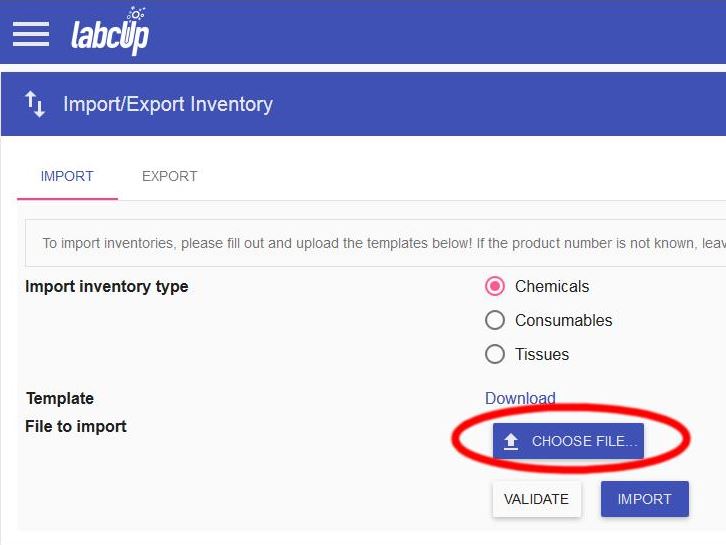
Select ‘CHOOSE FILE’.
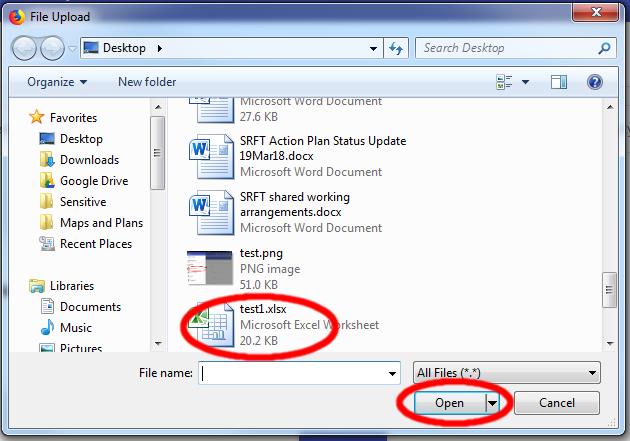
Navigate to the spreadsheet you have just created (stored on your PC/shared drive), select it and click ‘Open’.
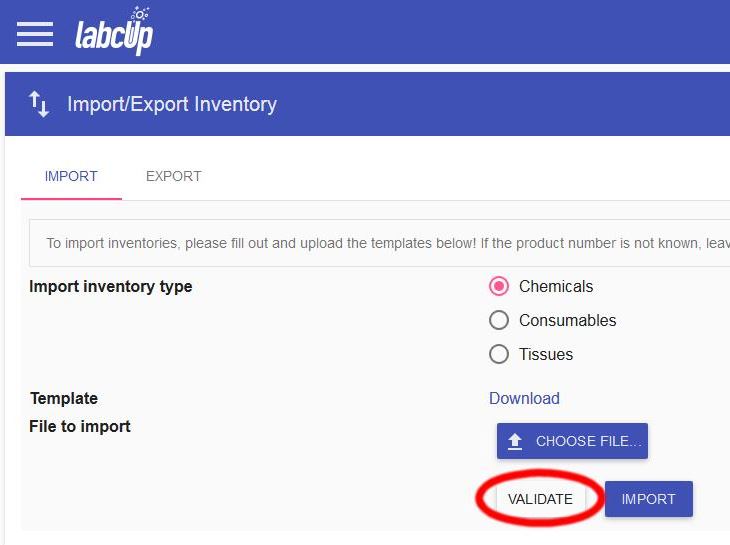
Select ‘VALIDATE’.
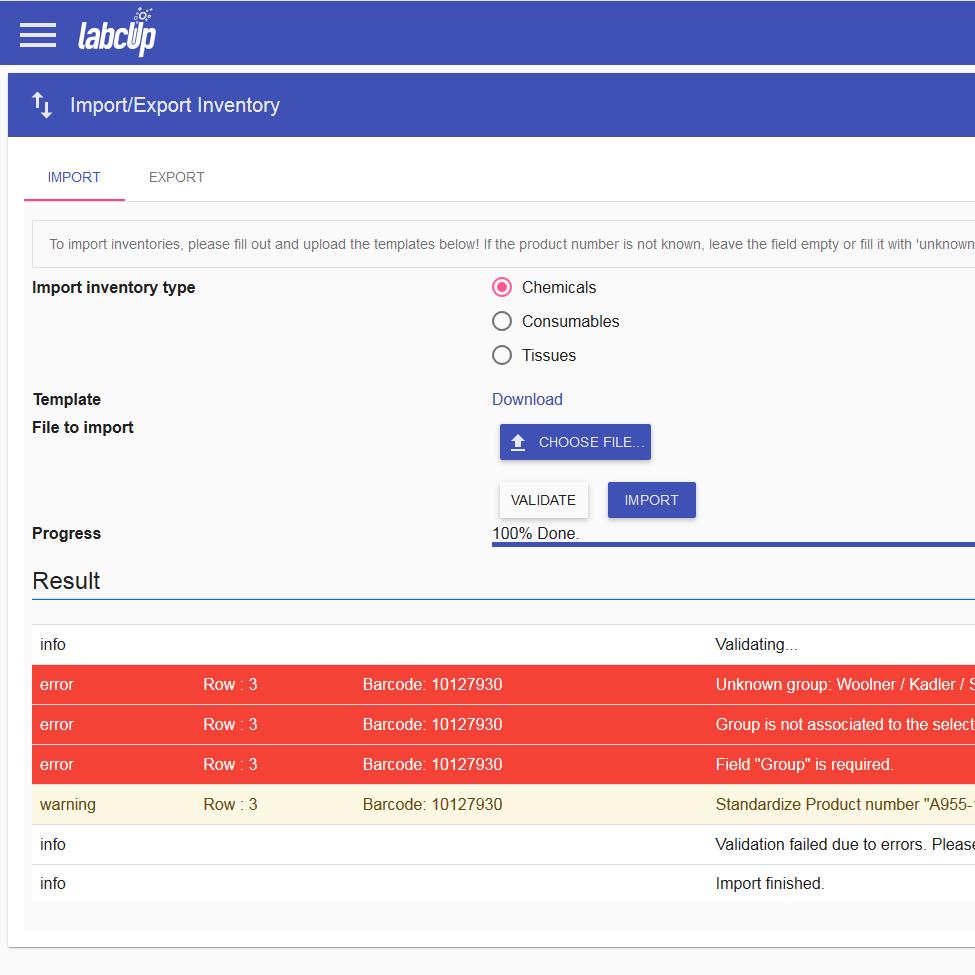
LabCup now validates your spreadsheet. Look down the list of issues raised. Cream-highlighted issues are non-critical, red-highlighted issues need to be resolved before the spreadsheet can be imported.
If you are having problems with validating, please contact the FBMH LabCup team.
Make any alterations required to your spreadsheet, then repeat the process of choosing the file, selecting the spreadsheet and validating the sheet to ensure all red-highlighted errors have been rectified.
Finally, CHOOSE FILE, re-select the spreadsheet you have validated and select the 'IMPORT' option.
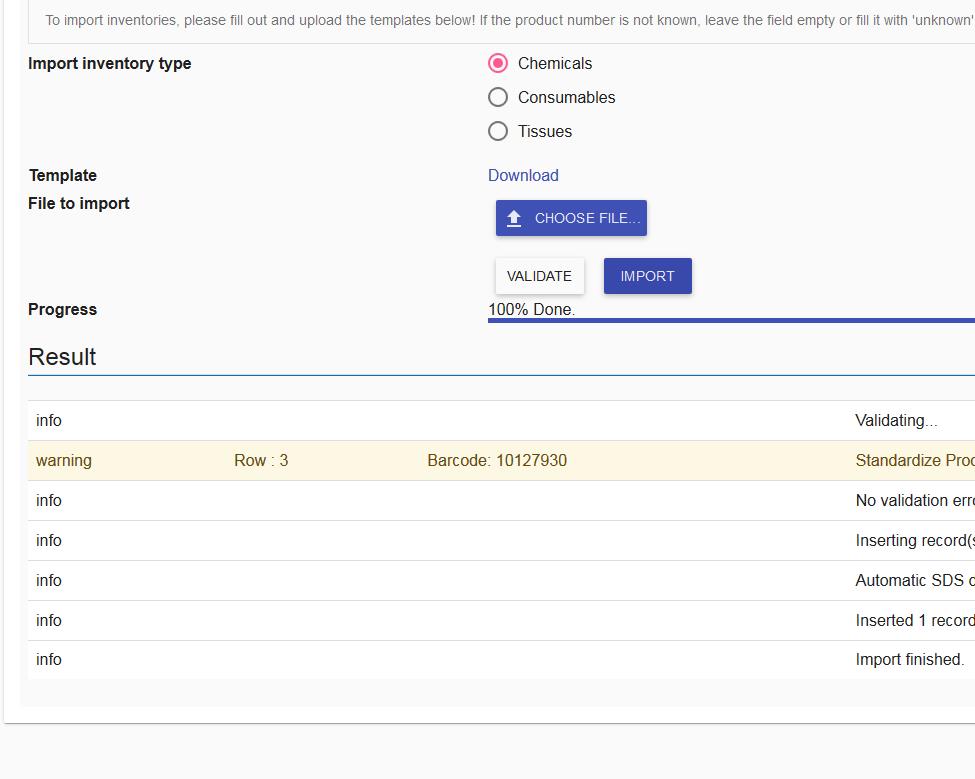
Scroll down to the bottom of the resulting screen – at the bottom there should be a message confirming that the records have been successfully inserted.
LabCup will automatically add Safety Data Sheet information to the chemicals in the background.