Search using an items barcode
The following walkthrough describes how to search for a specific chemical using the associated barcode within the LabCup software.
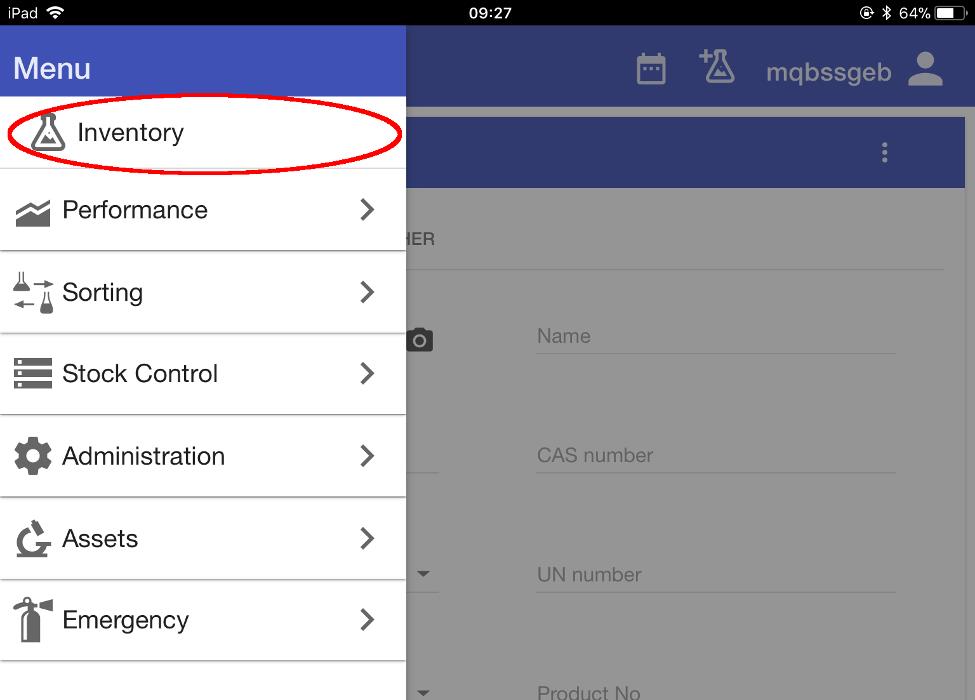
Using the menu option at the top-left of the screen, navigate to the ‘Inventory’ section.
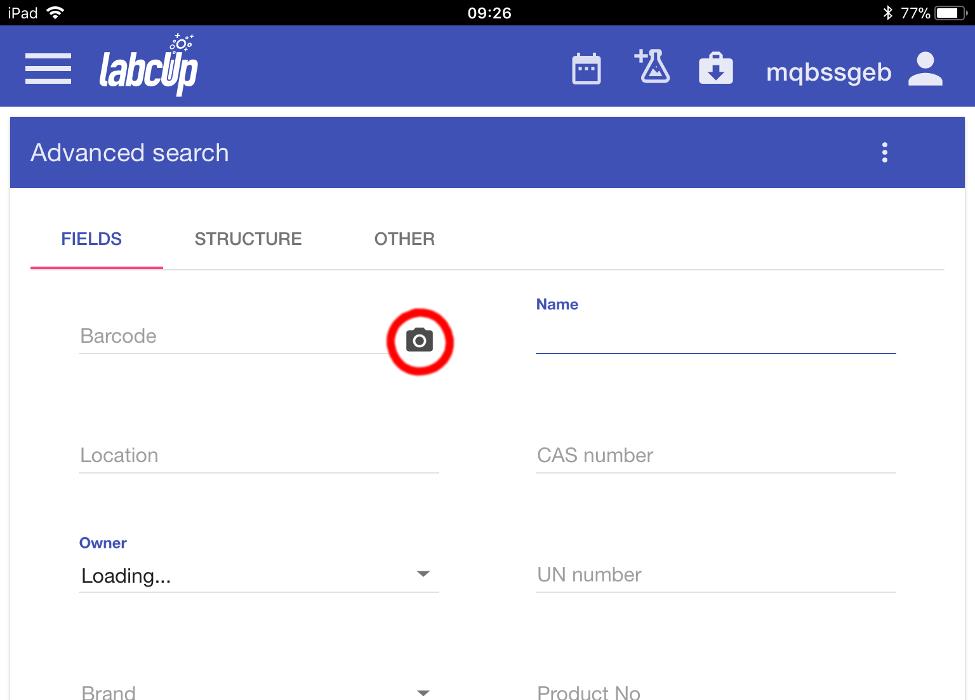
The Advanced search screen opens.
Select the camera icon, next to the ‘Barcode’ search field.
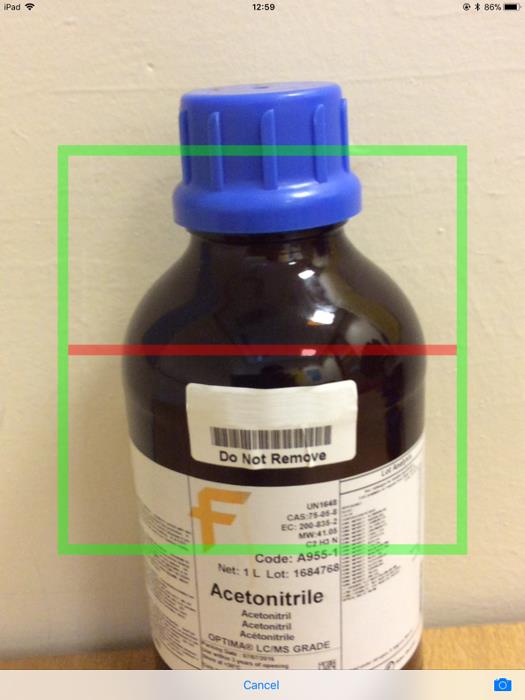
The screen changes to the view from the tablet’s camera. The red line overlaid on the view is where you want to line the barcode up.
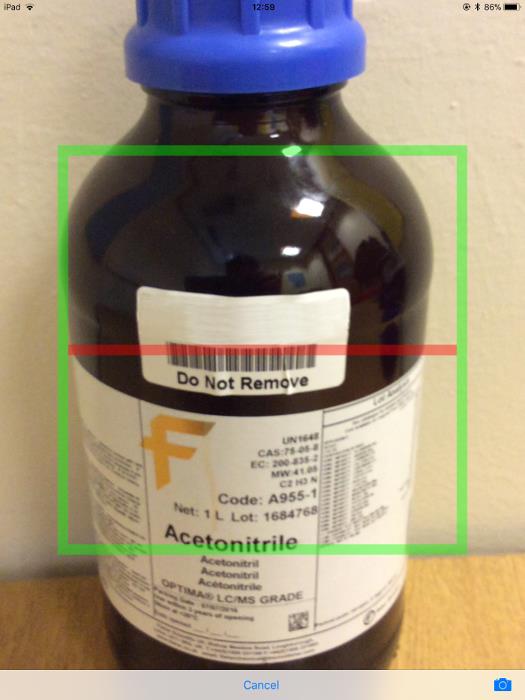
Line the barcode up and the software will automatically read it and return to the Advanced search screen.
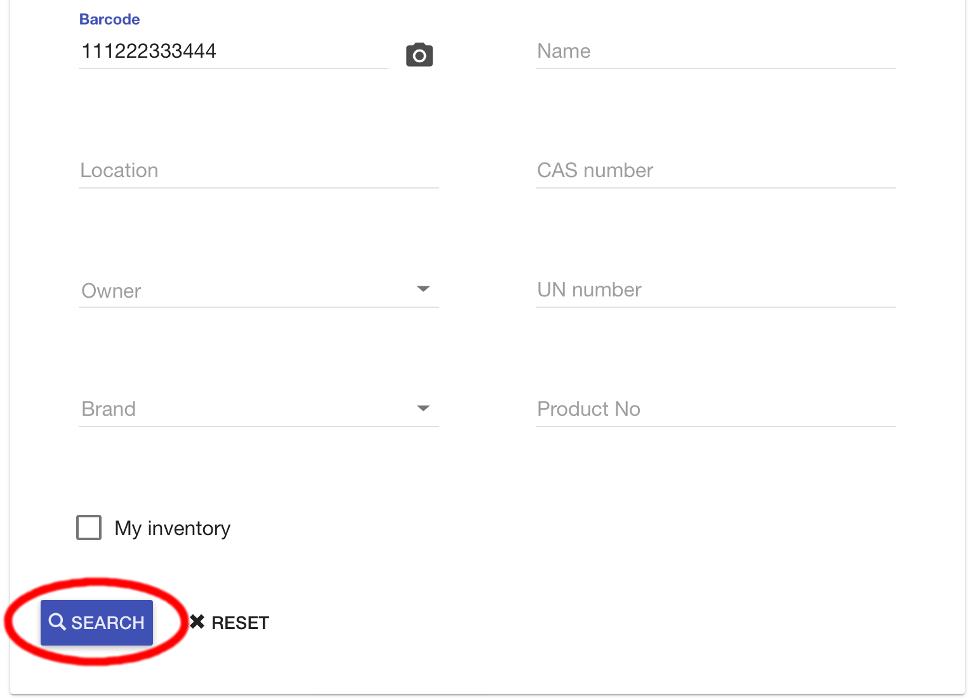
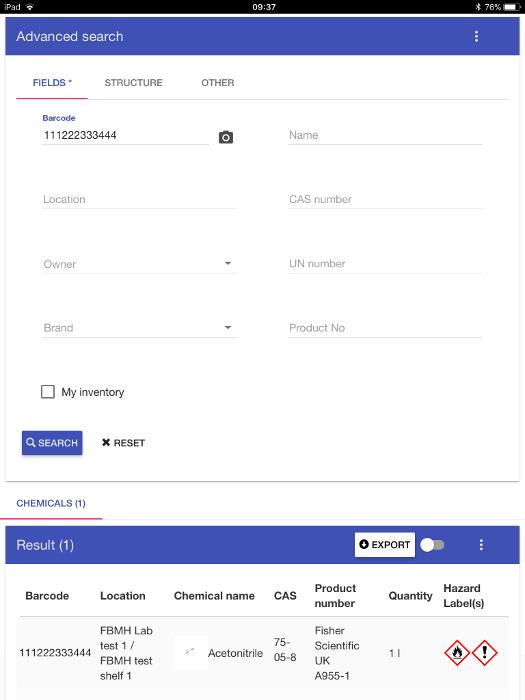
The barcode’s number should now be shown in the Barcode field.
Select ‘SEARCH’.
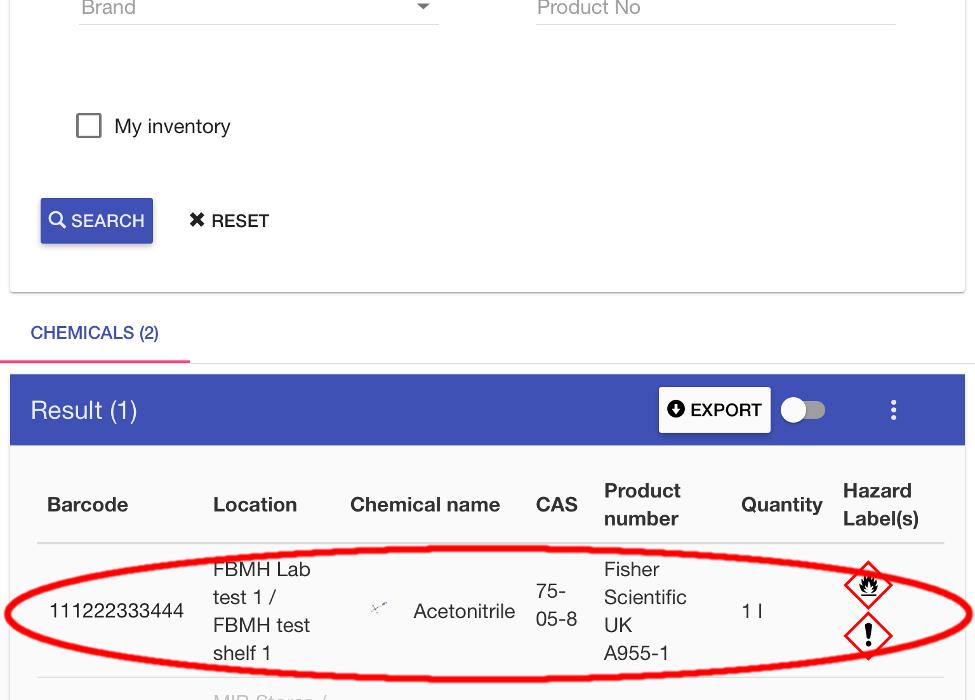
If the barcode is registered in the database, the chemical should appear at the bottom of the screen.
Select the chemical’s entry.
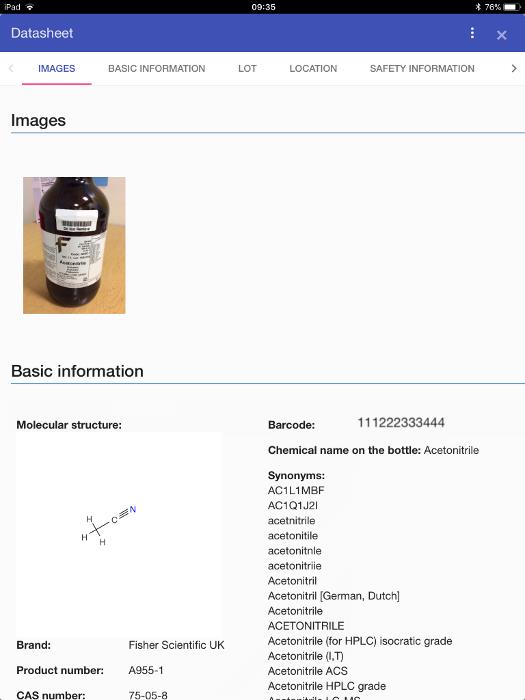
The chemical’s datasheet opens. Here you can review all the information relating to this chemical.
At the top of the datasheet is the original photo that was taken when the chemical was registered.
The Basic information section shows the molecular structure (where this information is retrievable from online sources) and a list of all the known synonyms for the chemical.
Scroll down for further information.
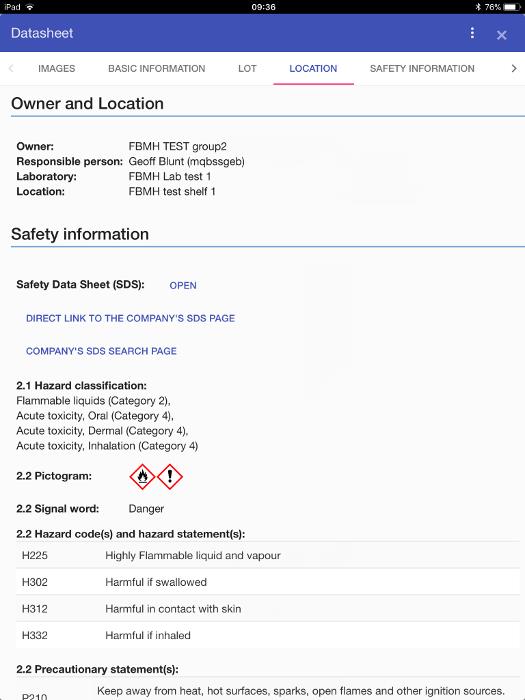
Under Owner and Location a summary of the item’s ownership, laboratory and location is displayed. Below that, data from the safety data sheet is summarised, including hazard pictograms and hazard statements.
Continue to scroll down.
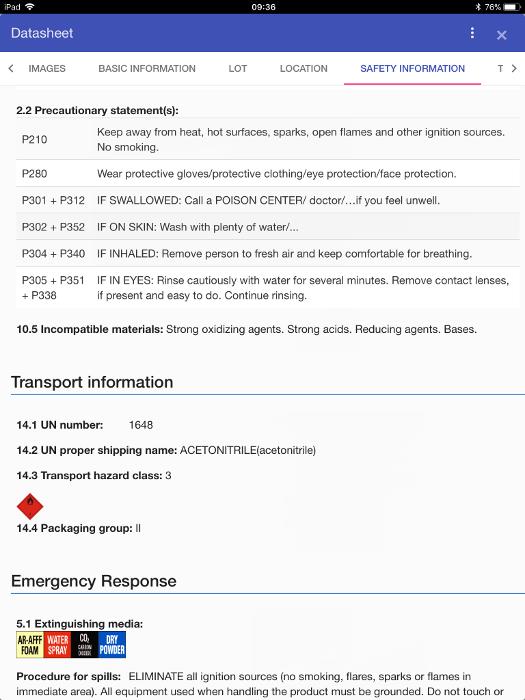
The hazard precautionary statements follow, as well as any transport information and emergency response/spill information that may be known.
Continue to scroll down.
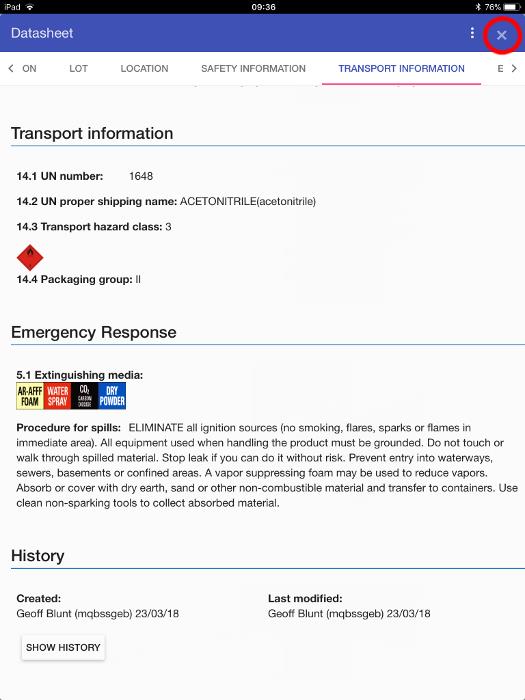
At the bottom, a history of the item’s information is summarised. For a detailed log of its various location and ownership moves, select the ‘SHOW HISTORY’ button.
When finished reviewing the information, select the ‘x’ at the top right-hand of the screen.
LabCup returns to the Advanced search screen.