Setting up new users
The following walkthrough describes how to add a new lab group member to a PI lab group. In order to add a new group member you must first have Admin access for the group in question. PI's will automatically be given Admin rights for their own lab groups. Each PI can designate a competent member of their group to help with their LabCup group administration.
Please contact your PI who will be able to grant administration permission.
When new staff or students join your lab it will be necessary to add them to your LabCup group so that they can access your chemical inventory and add or remove items. (It is recommended that undergraduate students be given read only access).
Note: this walkthrough is for adding a LabCup account for a new user not an existing user who is a member of another LabCup group – consult your Technical Operations Manager about transferring an existing user from one group to another, or adding you to more than one lab group on the system.
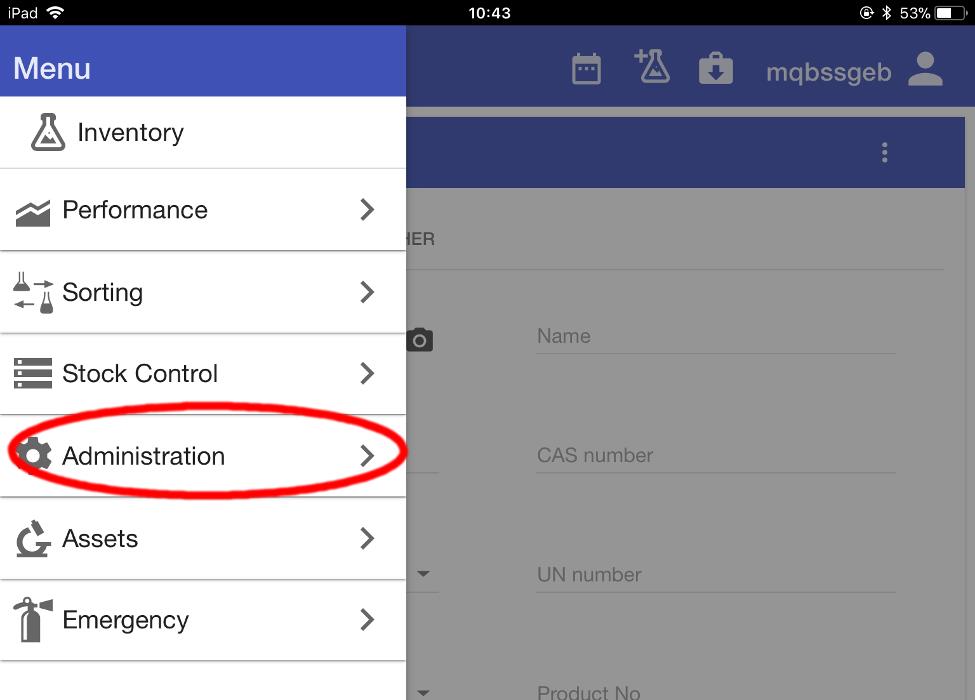
From the LabCup opening screen, open the menu and select ‘Administration’.
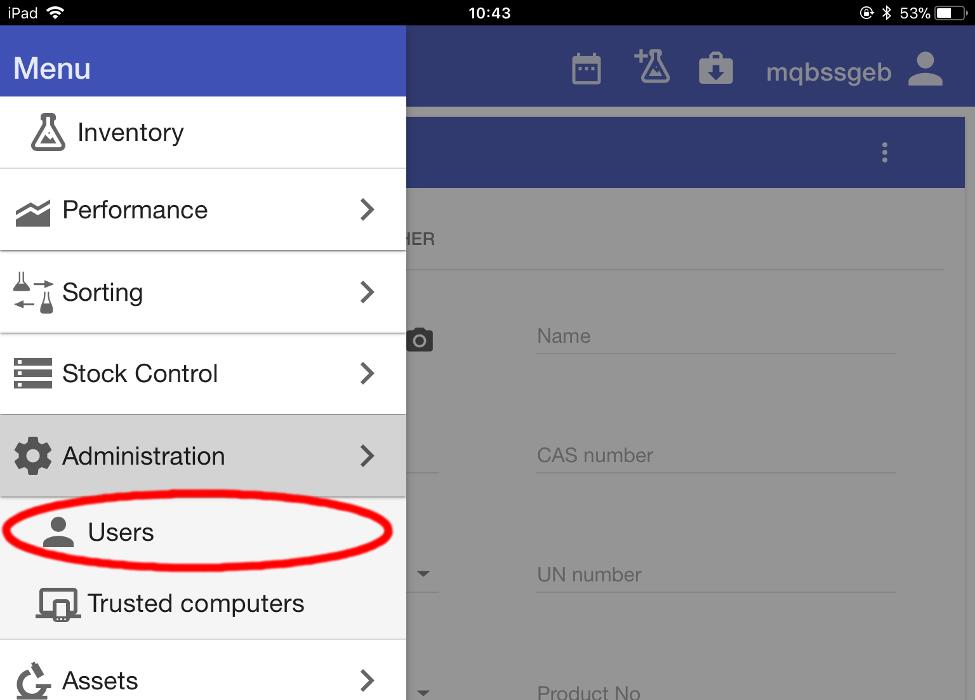
From the submenu, select ‘Users’.
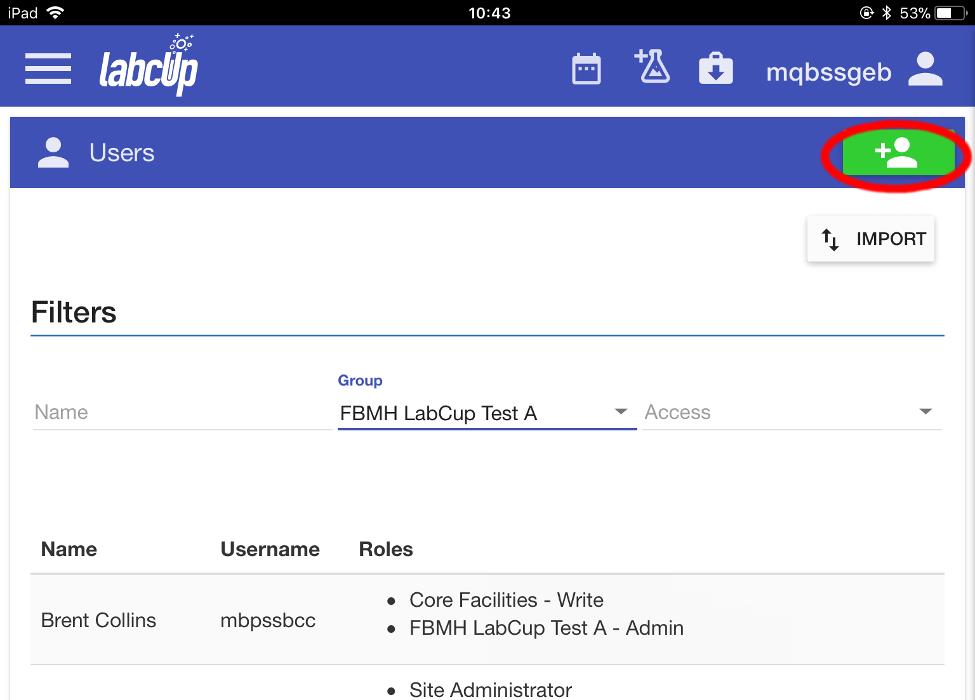
The Users screen appears, listing all the user details you have permission to see.
Select the Green button to create a new user.
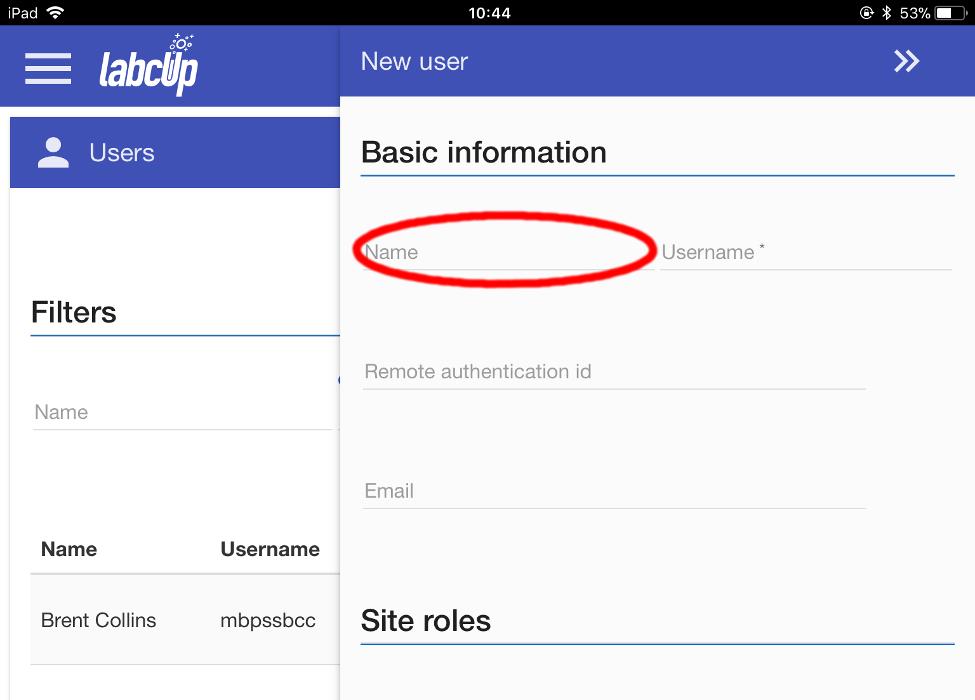
The New user form appears. Enter the name of the user.
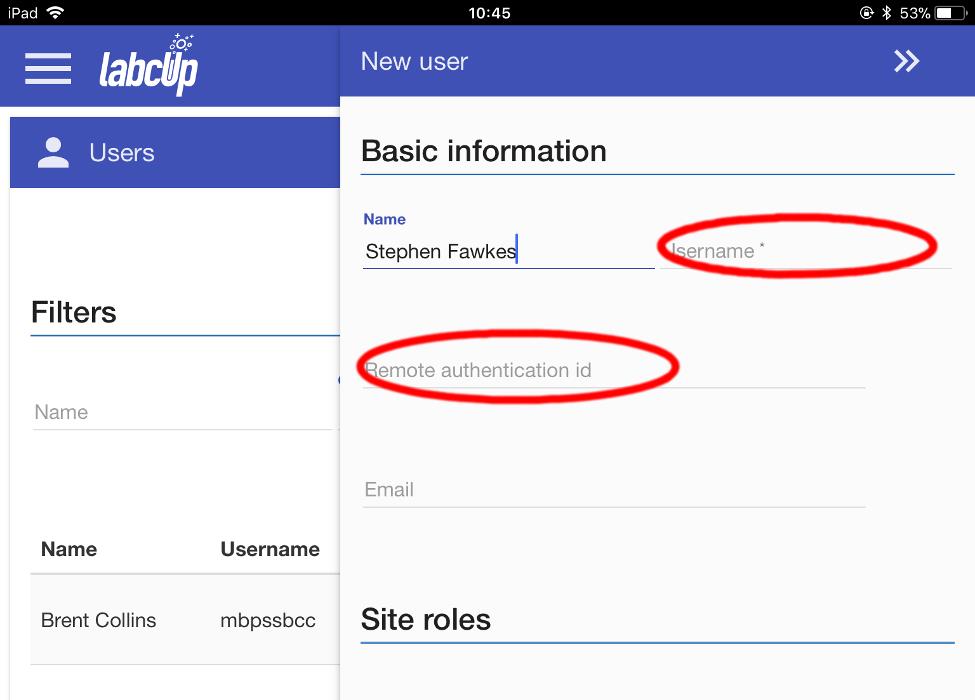
Next enter their username (this is the standard login they use to access all University services, sometimes called the CAS or Shibboleth login), into both the Username and Remote authentication ID fields.
NOTE: It is important that both fields are completed at this stage as it cannot be amended at a later date, both are required for access.
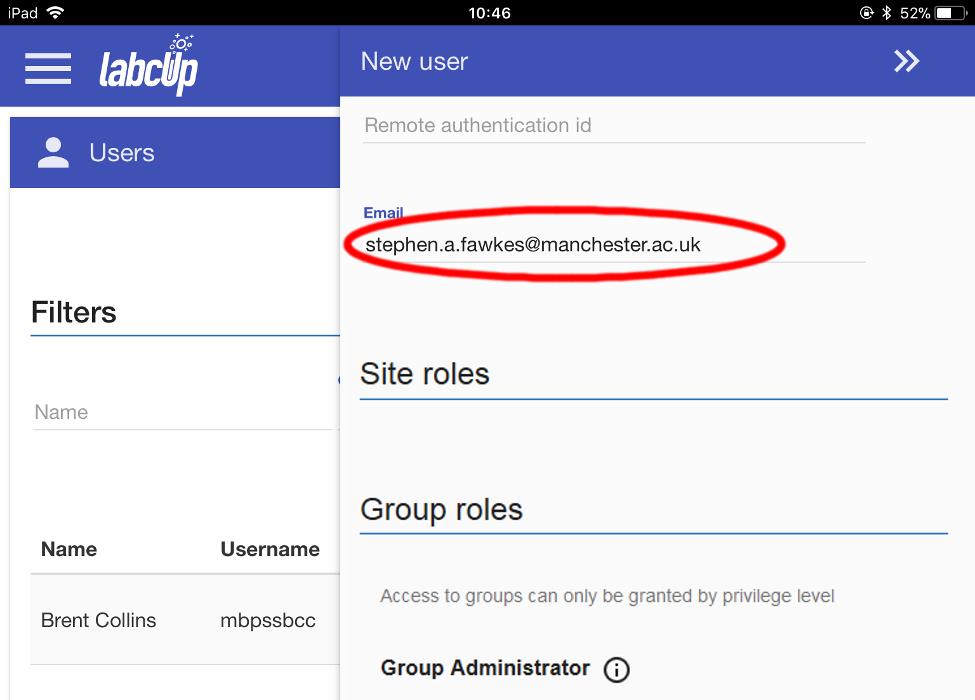
Next, fill in their official University of Manchester email address
Note: do not use a non-Univesrity e-mail address, access to the system is set up to run with CAS requiring a UoM log in.
Scroll down, past the Site roles section, to the Group roles section.
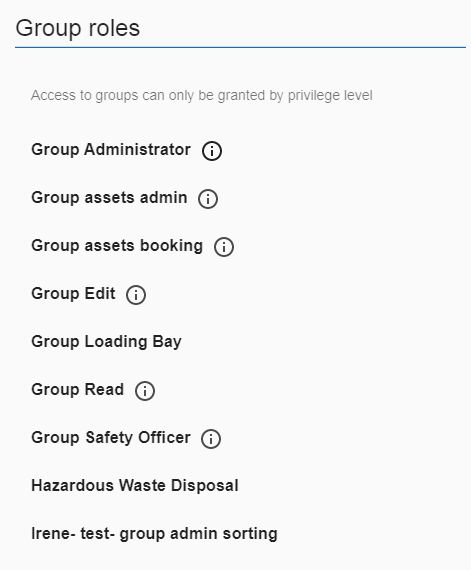
There are a number of different access rights an individual can be assigned.
‘Administrator’ allows the user to add users to the group, and also gives the ‘Edit’ privileges.
‘Edit’ allows the user to add or remove chemicals from the group, and also gives the ‘Read’ privileges.
‘Read’ allows the user to see the information relating to all the group’s chemicals.
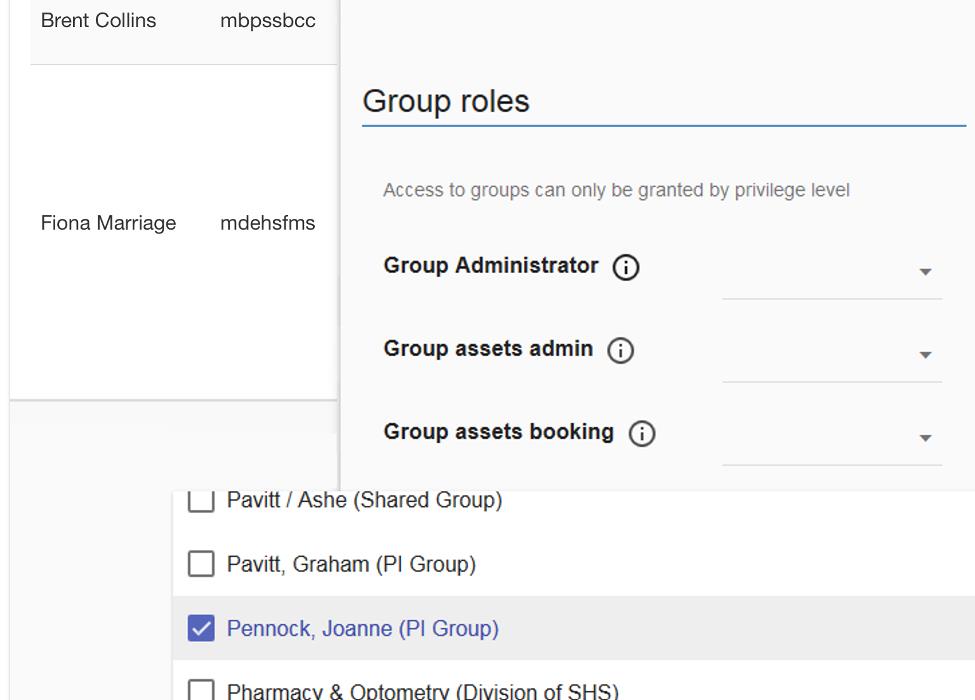
To add specific rights for your group, select the correct level (‘Group Administrator’, ‘Group Edit’ or ‘Group Read’) and then scroll through the dropdown menu to find the correct group.
Select the checkbox next to the correct group, multiple groups can be selected if required.
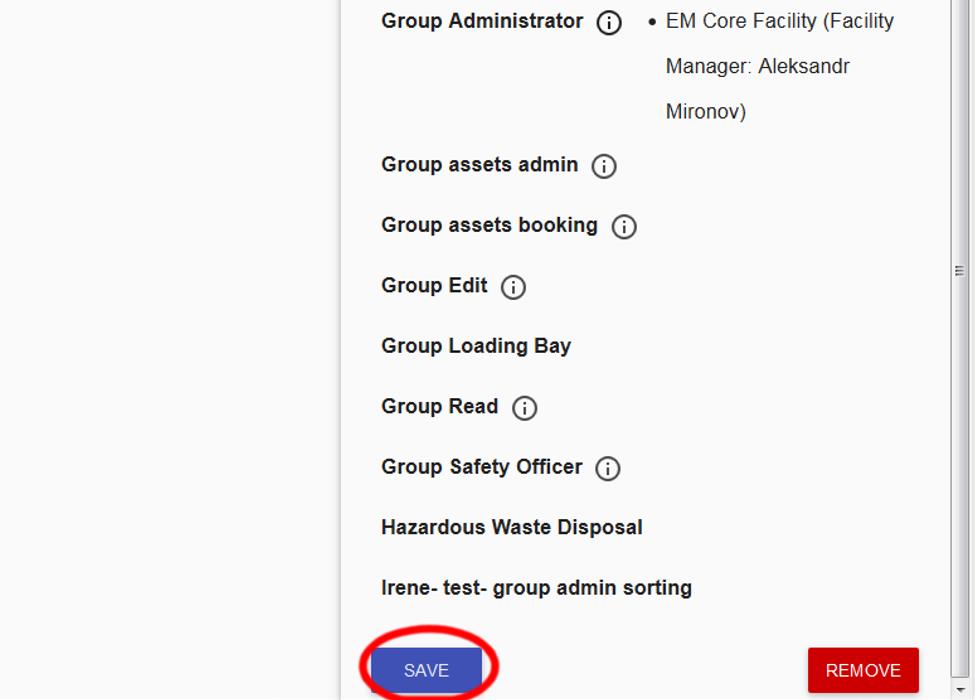
The new access privileges will appear on the list.
Finally, click on the SAVE button.
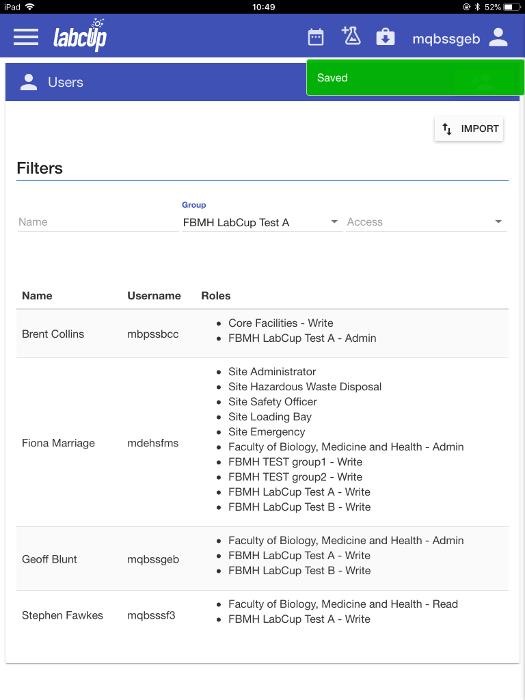
LabCup returns to the Users screen, with the new lab member listed.