Adding chemicals
The following walkthrough describes how to add a chemical to your LabCup database.
Open the LabCup app
Log in using your University username and password
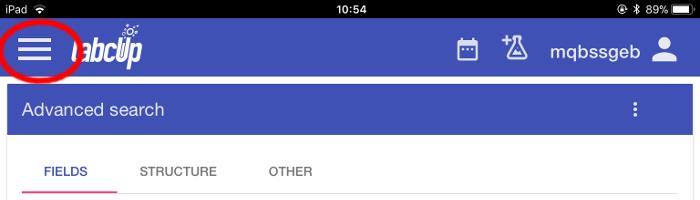
Select the menu button at the top left of the screen.
Note: Your initial screen will vary from user to user, but the menu button should always be there.
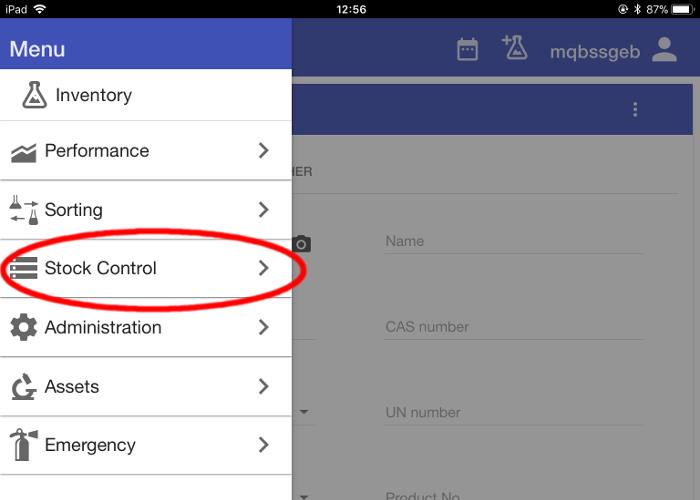
From the menu, select ‘Stock Control’.
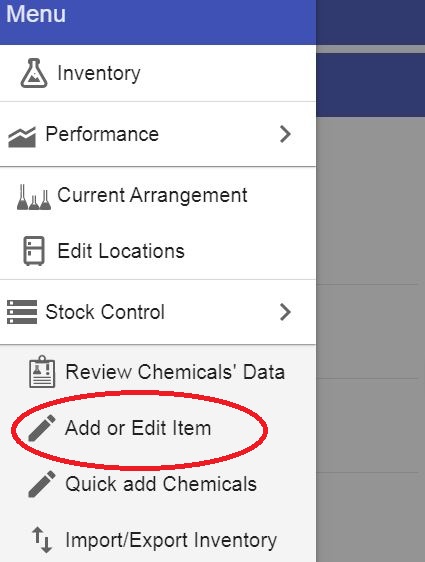
From the ‘Stock Control’ submenu, select ‘Add or Edit Item’.
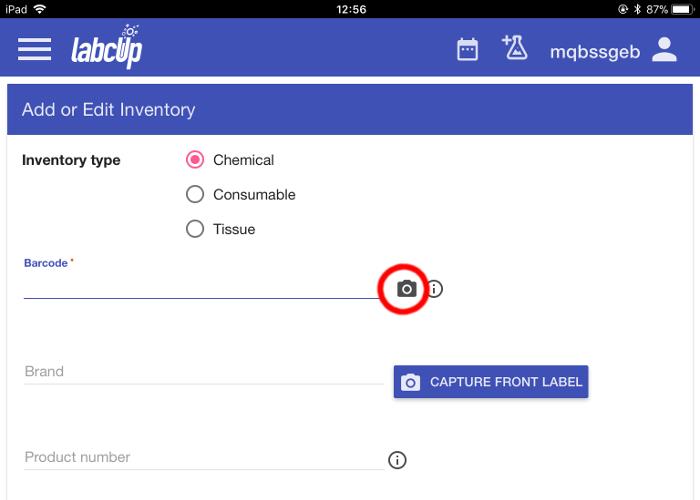
This takes you to the ‘Add or Edit Inventory’ screen.
Apply one of the barcode stickers supplied to your group to the chemical’s container.
Leave the 'Inventory type’ selection on ‘Chemical’ and select the camera icon in the barcode section to scan your first item’s barcode.

The screen changes to the view from the device’s camera.
The red line overlaid on the view is where you want to line the barcode up.
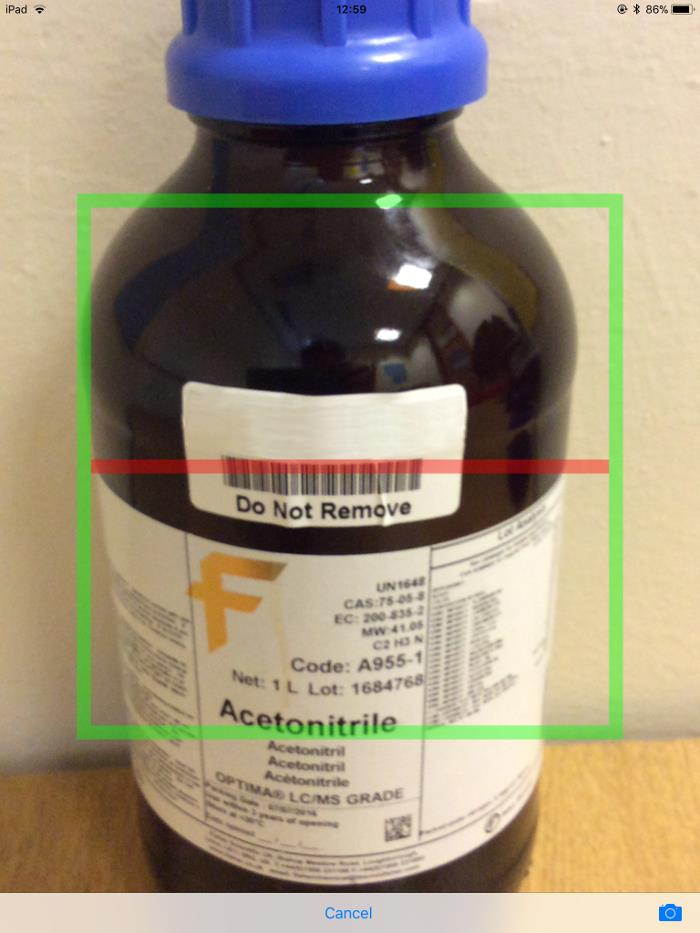
Line the barcode up with the red line and the software will automatically read it and return to the ‘Add or Edit Inventory’ screen.
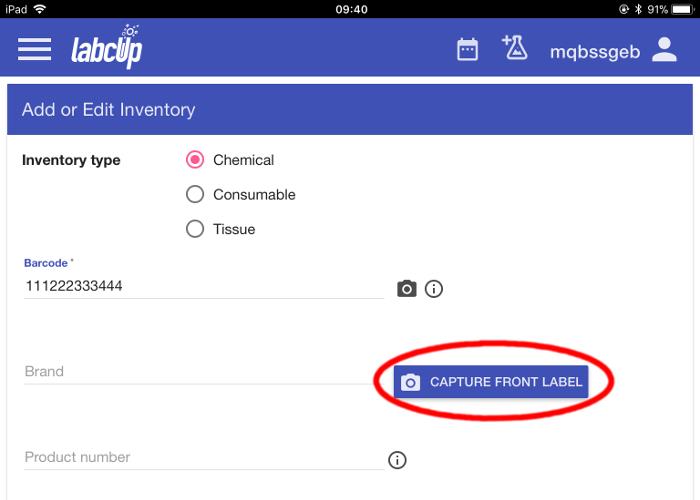
You can see that the barcode has been translated into its alphanumeric.
Note: if a barcode should fail to scan for any reason, the number can always be entered manually in the box provided.
Select the ‘CAPTURE FRONT LABEL’ button.
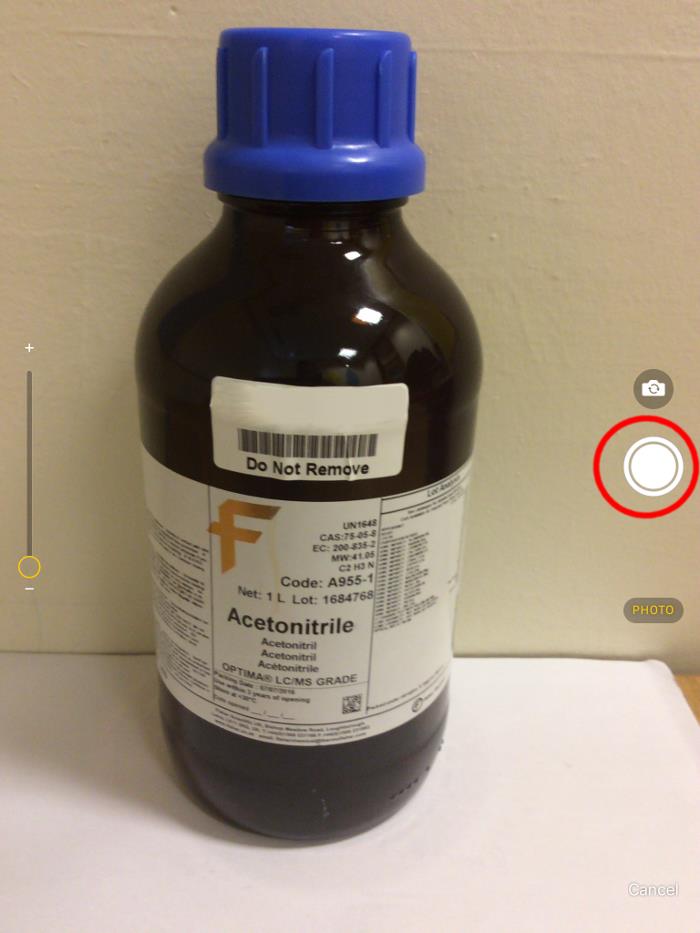
This takes you to the tablet’s camera view again, this time with no overlay. The priority is to make sure the software has brought the label into clear focus. Take a photo using the highlighted icon.
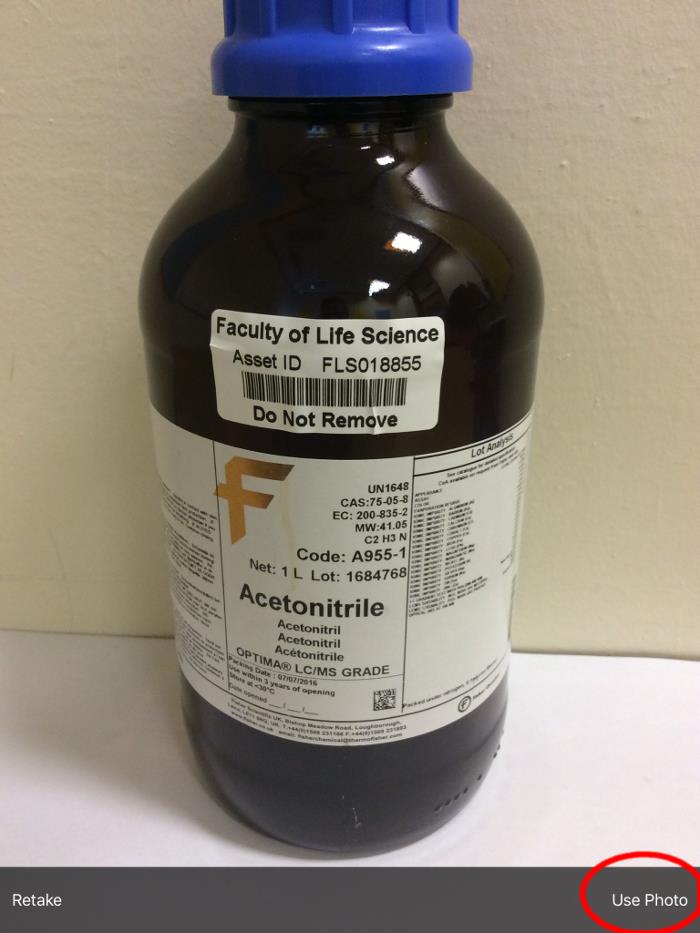
You then have an opportunity to review the photo, and re-take it if it looks blurred. When you are happy with the photo, select ‘Use Photo’.
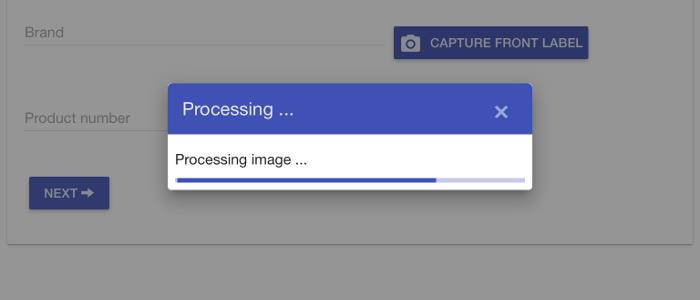
A ‘Processing…’ message appears. As well as storing a visual record of the bottle, the software will now attempt to read the label and match that data with online records.
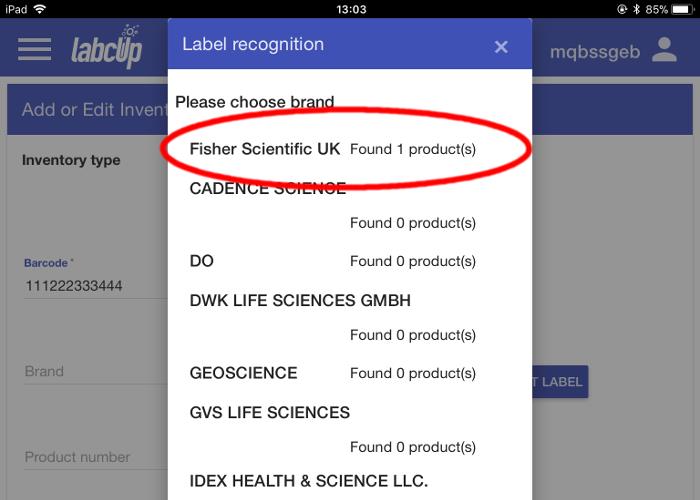
You are then presented with a list of possible manufacturers based on the look of the label. For each manufacturer, the software will tell you if there is a catalogued product which matches your bottle.
In this example ‘Fisher Scientific UK’ has been correctly identified, and 1 product has been found on their database that matches the bottle.
Select the manufacturer that matches the bottle, or, if there is no correct match, select ‘NOT LISTED’ at the bottom of the menu.
Note: some Sigma-Aldrich chemicals will appear as Aldrich products or Sigma products.
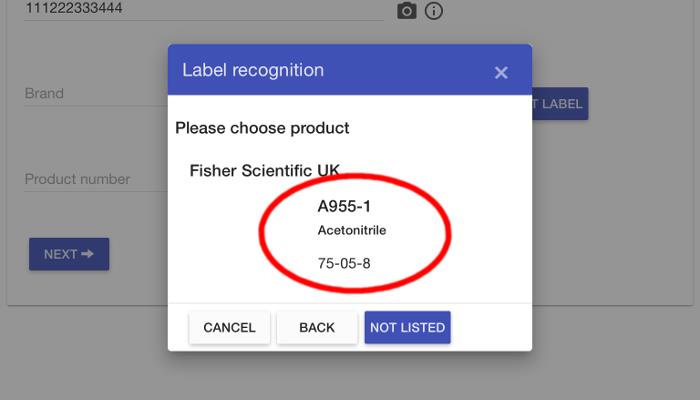
Check that the details of the suggested match tally with your bottle, if they do, select the chemical name. If they don’t match, either select ‘BACK’ for the previous manufacturer selection screen, or ‘NOT LISTED’ to enter the details manually.
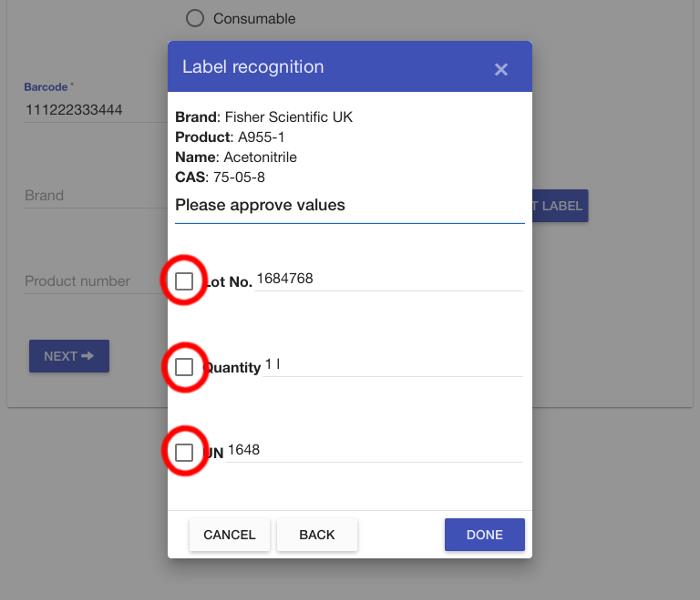
The software then asks you to check other data that it has extracted from the label image, suggesting different fields that the data might match. In this example, all three suggestions correctly match our label data, so we select each one.
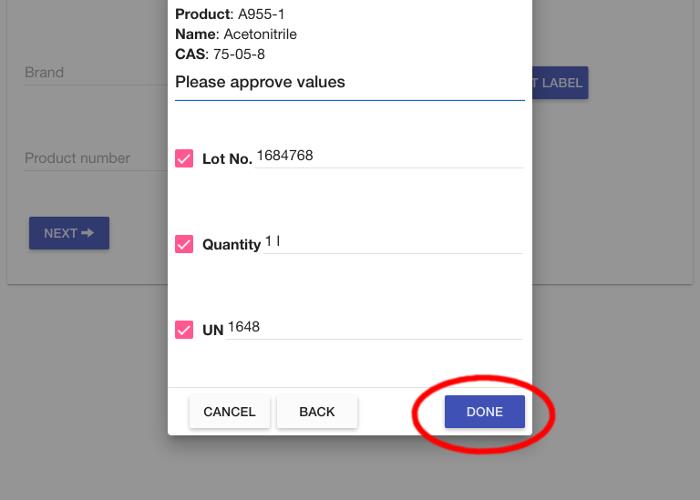
When each matching field has been selected, select ‘DONE’.
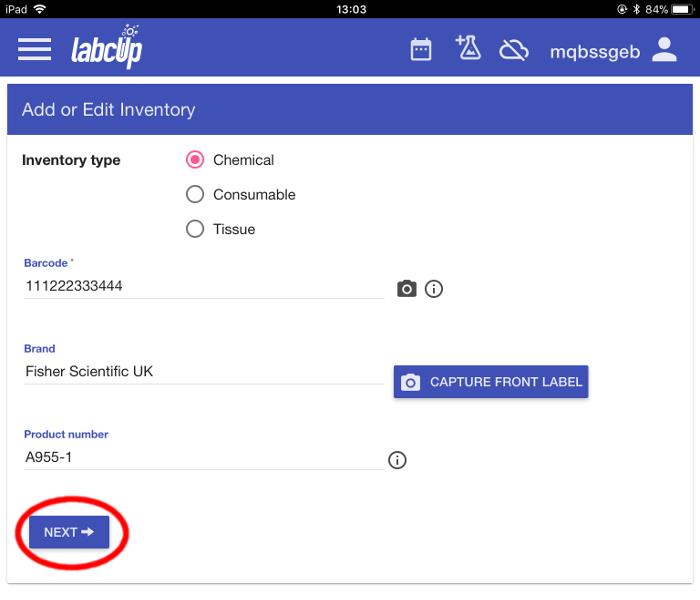
At the Add or Edit Inventory screen, select ‘NEXT’.
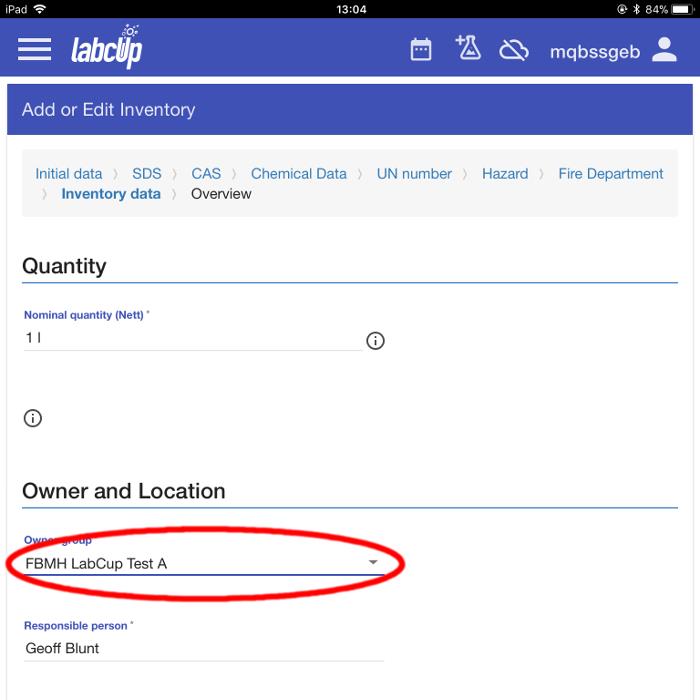
On the next screen, we can edit the quantity of the chemical (it will automatically recognise SI units such as L, ml, g, kg).
In our example this has been completed as part of the information harvested from the label image.
Select the ‘Owner group’ dropdown and select your group, this will normally be in the form of the PI Surname, Forename, Initials. Or in the case of shared chemicals it will be the collective group name.
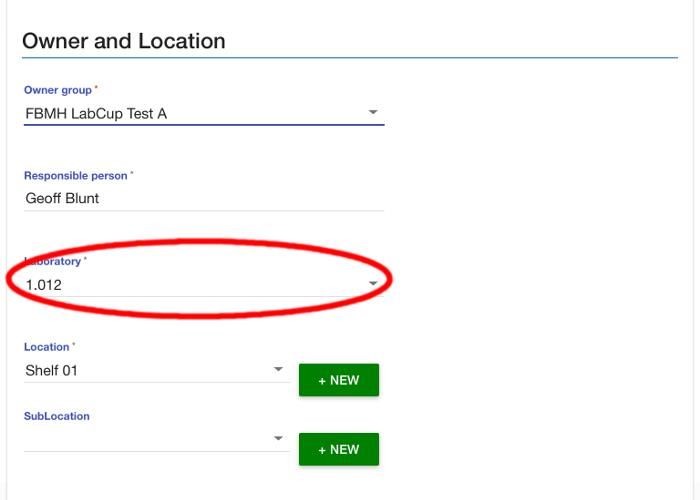
Select the ‘Laboratory’ dropdown menu.
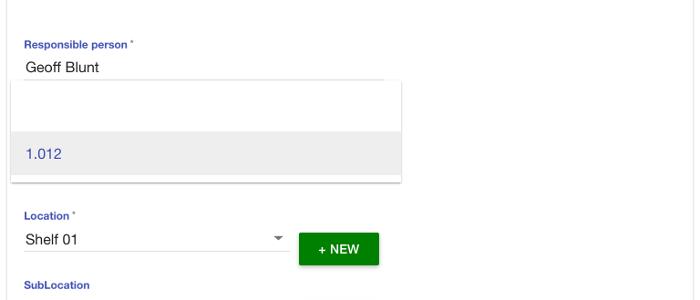
This will bring up a list of the lab spaces your group uses. Select the appropriate one for the chemical you are adding.
Within the lab you will have labelled locations such as shelves, flammables cabinets, corrosives, cabinets, cupboards, fridges and freezers.
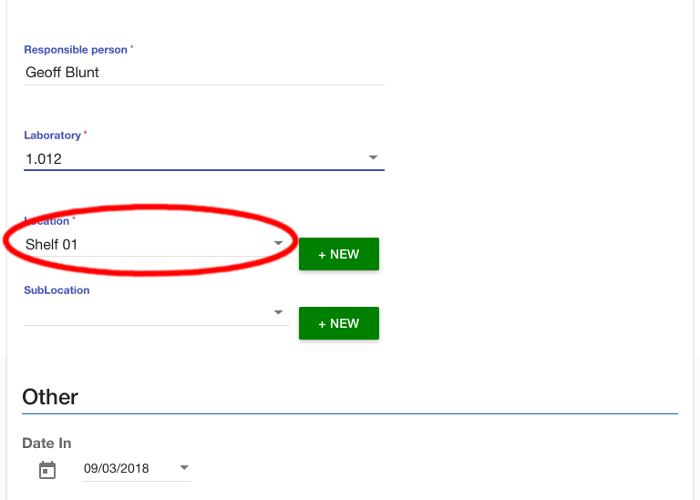
Select the ‘Location’ dropdown to bring up the list. (Or you can select the ‘NEW’ button to add a location).
Note: locations have a strict naming convention to prevent (for example) there being two labelled ‘Shelf 01’ in the same lab. You will be issued with stickers to label the locations in your lab, please only use the stickers you have been given by the LabCup team. More can be made if required.
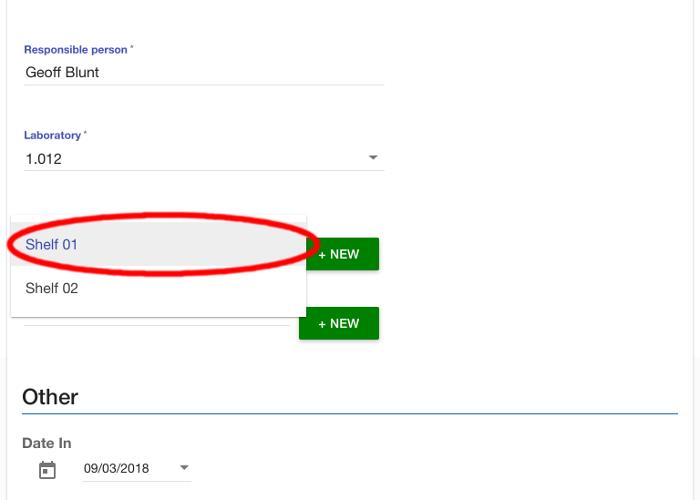
From the ‘Location’ dropdown, select the correct place.
Note: at this point, LabCup may warn you of possible incompatibilities with chemicals already stored in that location. If this happens, consider choosing a different location.
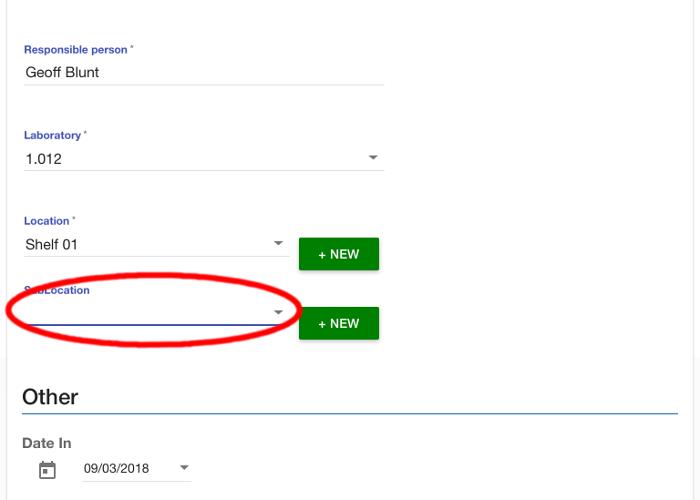
Note: using sub-locations is optional.
If you find it useful, you can add sub-locations within a location to make finding your chemical easier. E.g. In a shelf location, you can add different boxes as sub-locations, or in a cabinet location, you can add the shelves of the cabinet as sub-locations.
Select the ‘SubLocation’ dropdown menu.
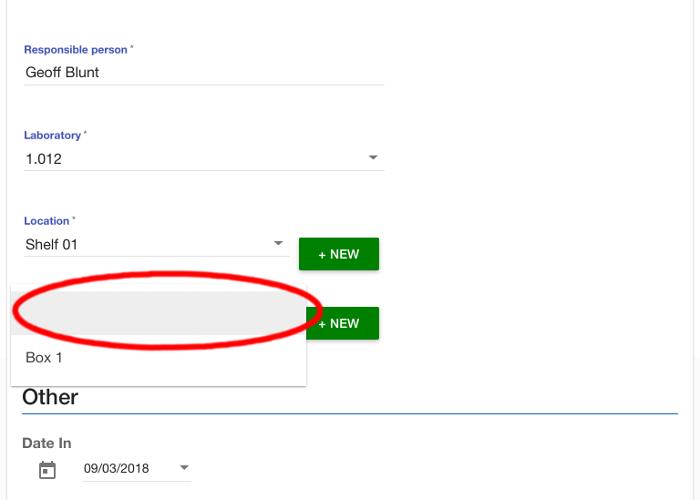
Note: using sub-locations is optional.
In this example, there is only one sub-location on this shelf, Box 1. We will opt not to use it as this bottle is too large. Selecting the blank space on the dropdown causes the dropdown to disappear.
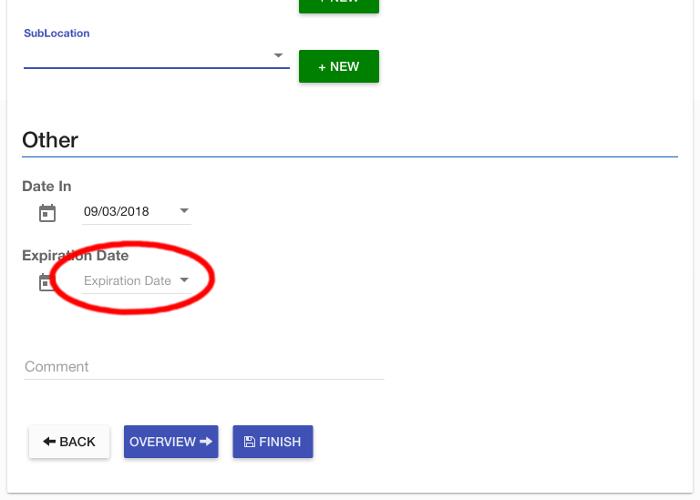
Scrolling further down the screen you will come to the Other section. Select the ‘Expiration Date’ dropdown menu.
Note: for some chemicals, LabCup will put advice next to the expiration field. E.g. if your chemical is acrylic acid, the note would advise you not to enter an expiration date further than a year in the future, as it is ’hazardous due to peroxide initiation of polymerization’. This advice can be overruled if necessary.
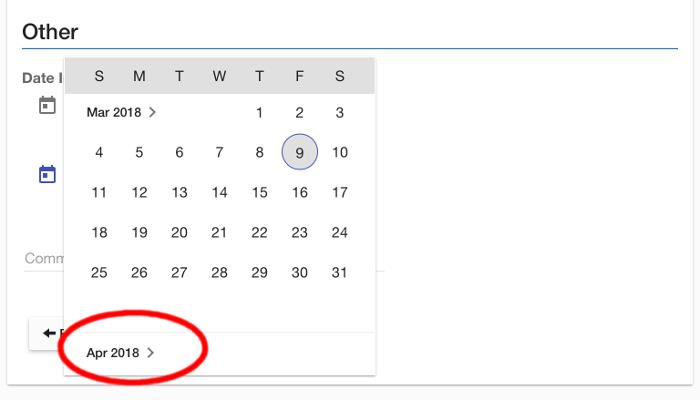
This brings up a calendar for the current month. Select the month directly below this to bring up future dates.
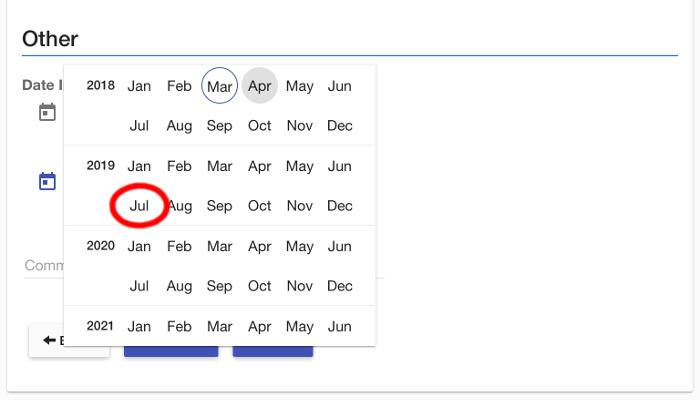
In our example, the expiration date is 3 years after the bottling date, which, according to the label, was 07/07/2016. We therefore select ‘Jul’ in the ‘2019’ section.
Note: If the expiration date was further in the future than the dates shown, this menu can be scrolled down as far as required.
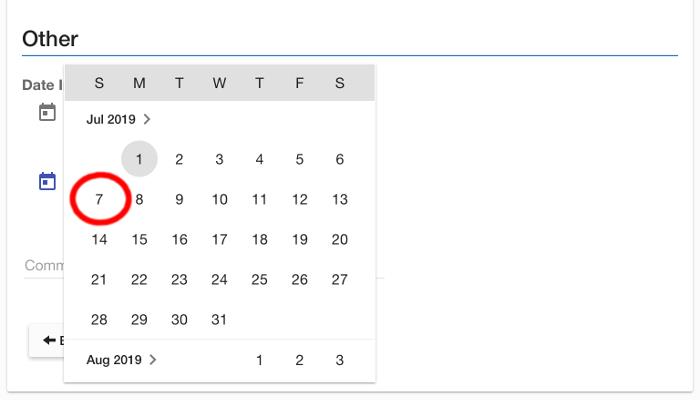
Next, select the correct date in the calendar.

The dropdown closes, and the expiration date is displayed.
At the bottom of the menu we have the option selecting ‘OVERVIEW’ to review the data that LabCup has downloaded from the web, which will include synonyms for the chemical as well as a diagram of the molecular structure.
Select ‘FINISH’ to add the item to the database and close this screen.
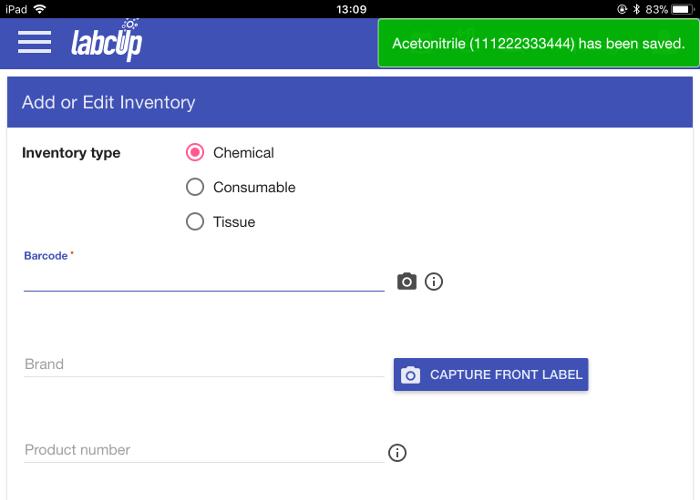
LabCup returns to the Add or Edit Inventory screen, ready to add another chemical, with a notification in the top-right that the chemical’s entry has been saved.