Adding chemicals without a commercial label
The following walkthrough describes how to add chemicals that do not have a commercial label to your LabCup database. This includes adding solutions/mixtures that have been made in-house.
Open the LabCup app
Log in using your University username and password
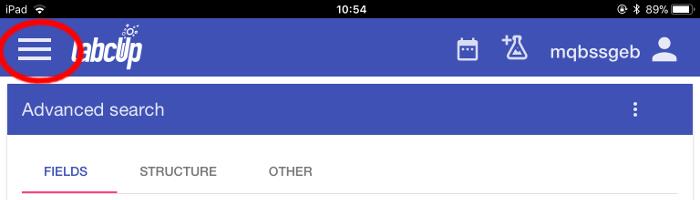
Select the menu button at the top left of the screen.
Note: Your initial screen will vary from user to user, but the menu button should always be there.
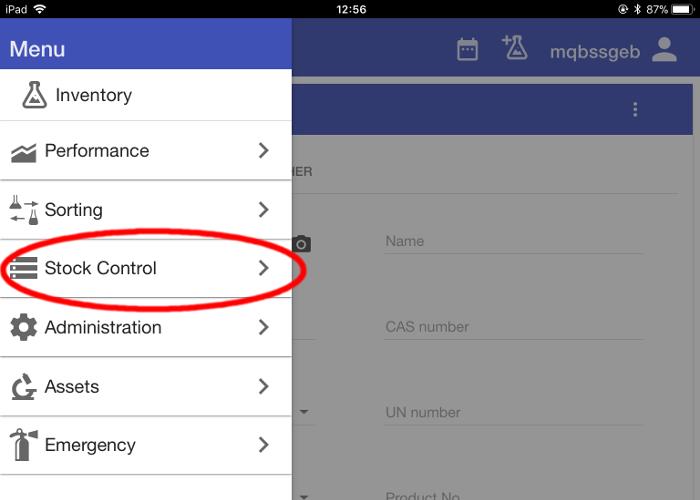
From the menu, select ‘Stock Control’.

From the Stock Control submenu, select ‘Add or Edit Inventory’.
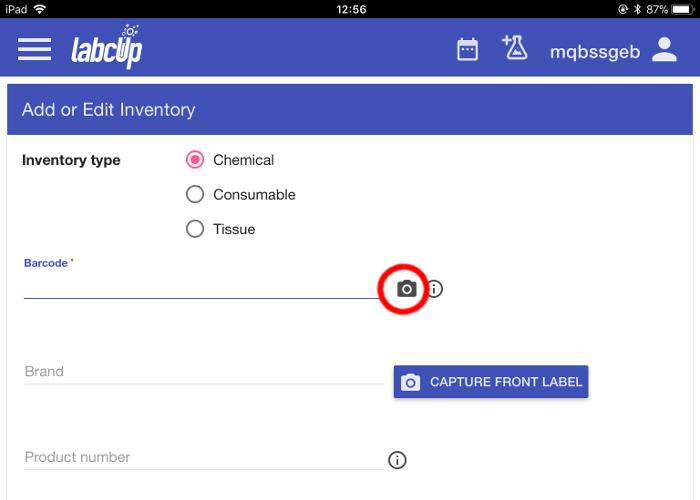
This takes you to the Add or Edit Inventory screen.
Apply one of the barcode stickers supplied to your group to the chemical’s container.
Leave the Inventory type selection on Chemical and select the camera icon in the barcode section to scan your first item’s barcode.
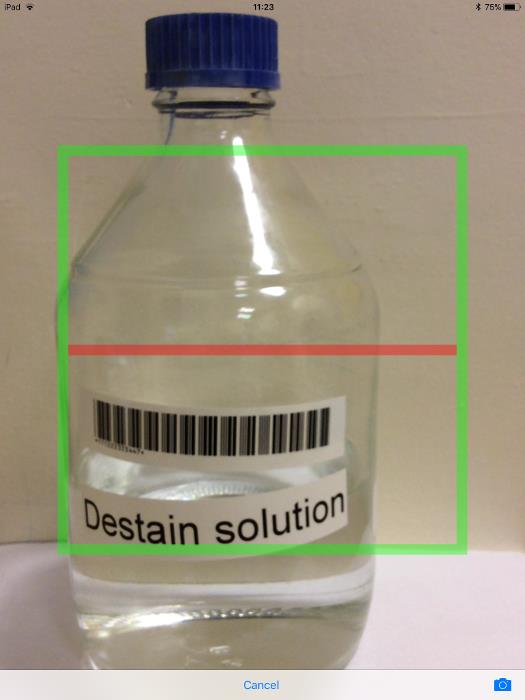
The screen changes to the view from the tablet’s camera.
The red line overlaid on the view is where you want to line the barcode up.
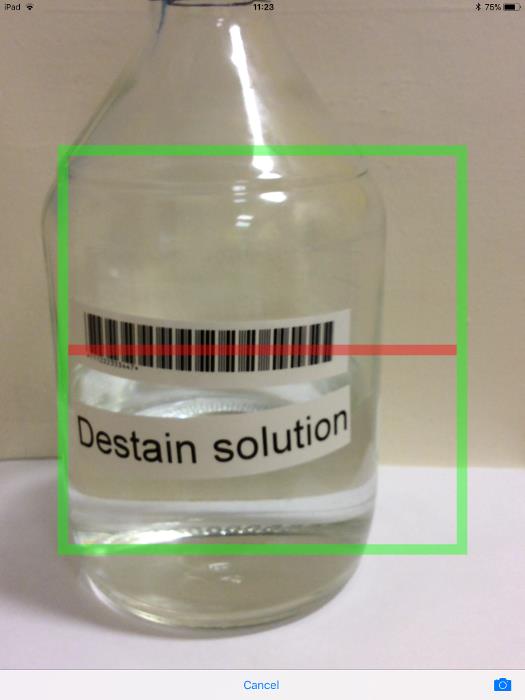
Line the barcode up and the software will automatically read it and return to the Add or Edit Inventory screen.
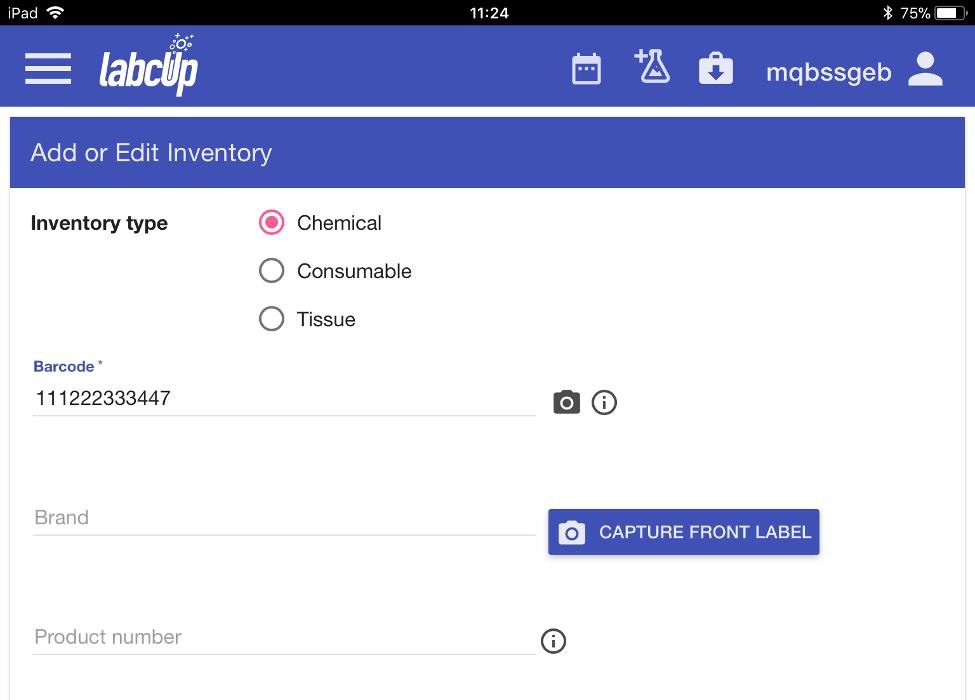
You can see that the barcode has been translated into its number.
Note: if a barcode should fail to scan for any reason, the number can always be entered manually in the box provided.
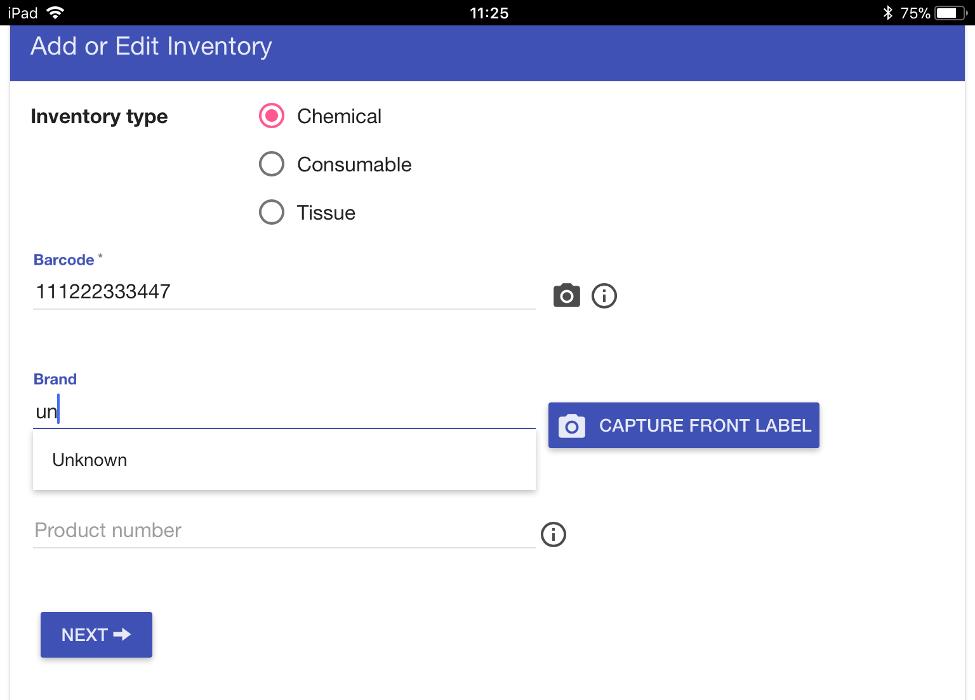
Our bottle’s label isn’t going to be recognisable to LabCup, so we need to enter ‘Brand’ and ‘Product number’ manually.
LabCup won’t allow these fields to be blank, so we’re going to enter ‘Unknown’ in both fields.
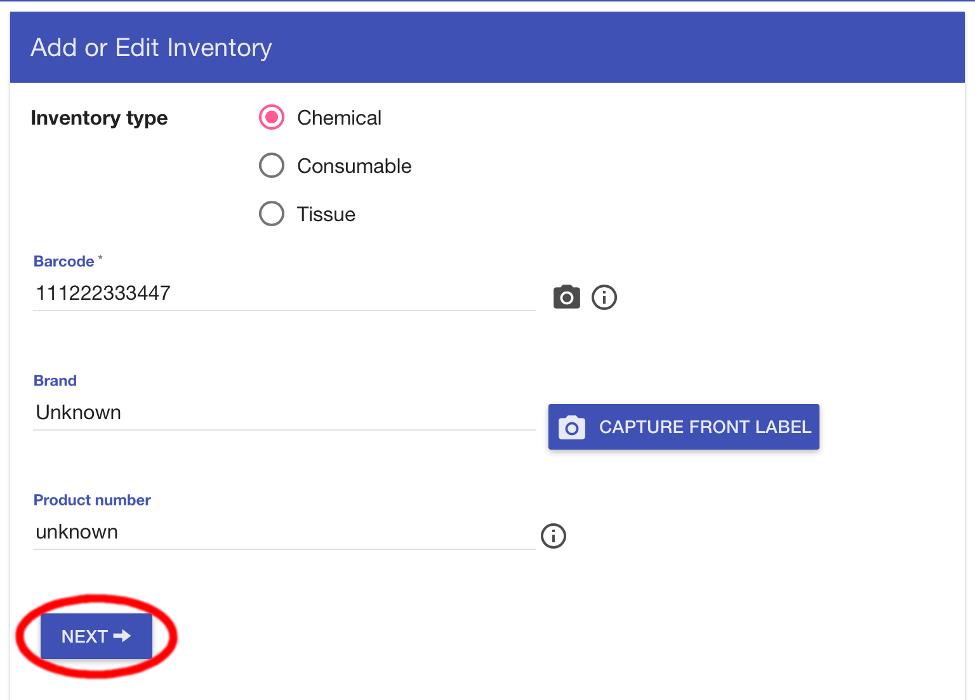
Once these fields are completed, select ‘NEXT’.
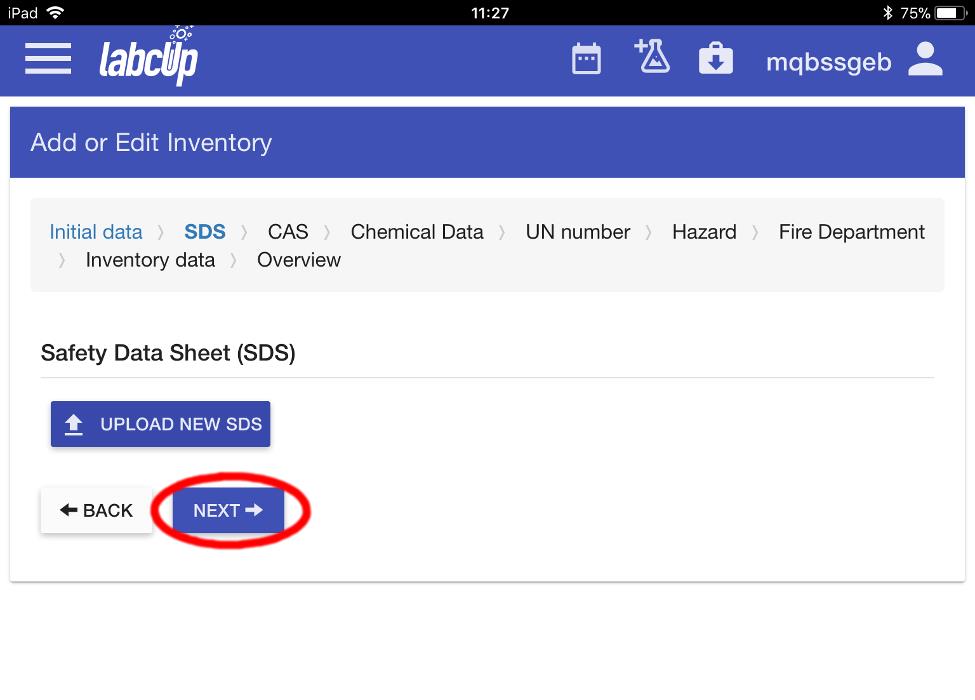
LabCup then invites you to upload a Safety Data Sheet for the chemical.
However, this is not possible on our tablets currently (it can be uploaded via the web interface on a computer), so select ‘NEXT’.

On the next screen there is an opportunity to enter the name of the chemical.
Select ‘Chemical name on the bottle’ and enter the name.
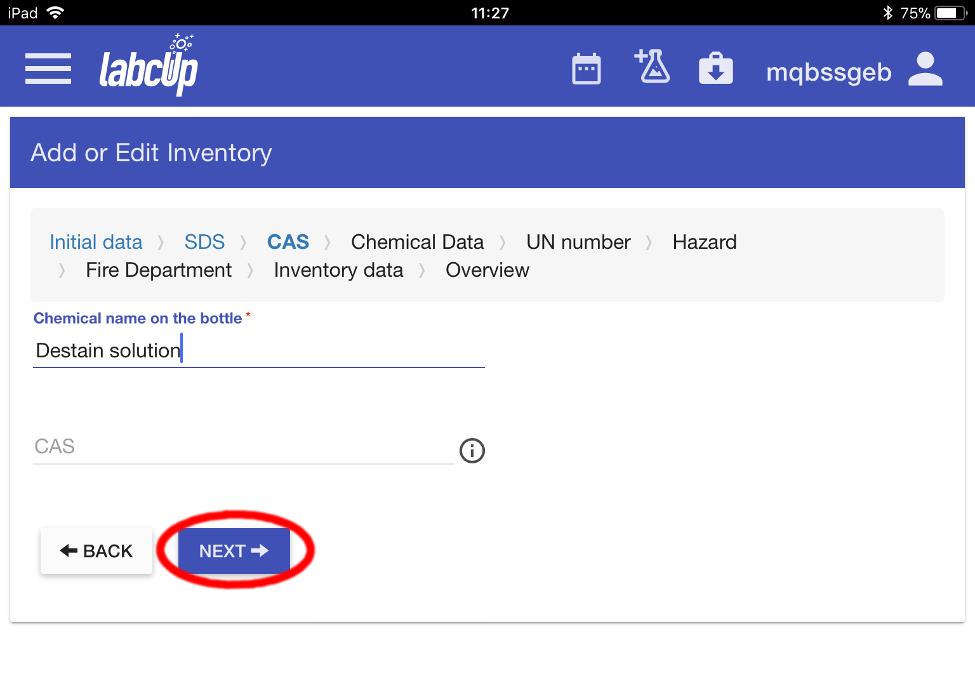
If you know the CAS number for the chemical, enter it in the box, otherwise select ‘NEXT’.
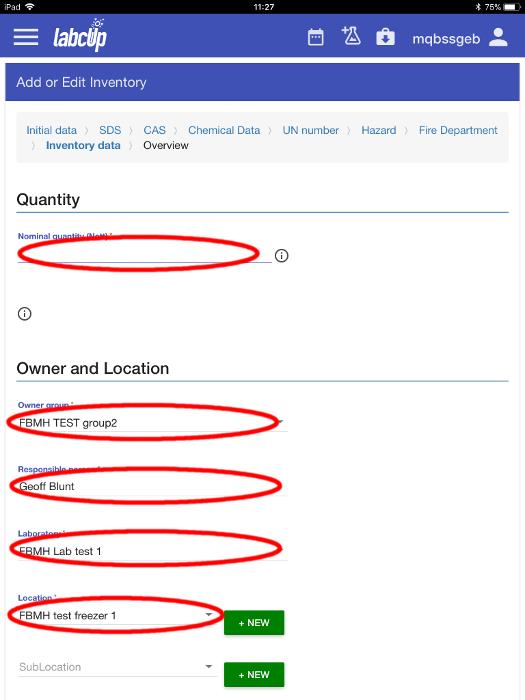
Fill in the Nominal quantity, Owner group, Responsible person, Laboratory, Location and Expiry date.
From the dropdown menus select the correct
- Nominal quantity: Nett Quantity is the weight/quantity/volume, of the chemical itselves without any packaging
- Owner group: The PI Lab Group or Shared Group
- Responsible Person: This will normally be the PI in charge
- Laboratory: The Laboratory the chemical will be stored
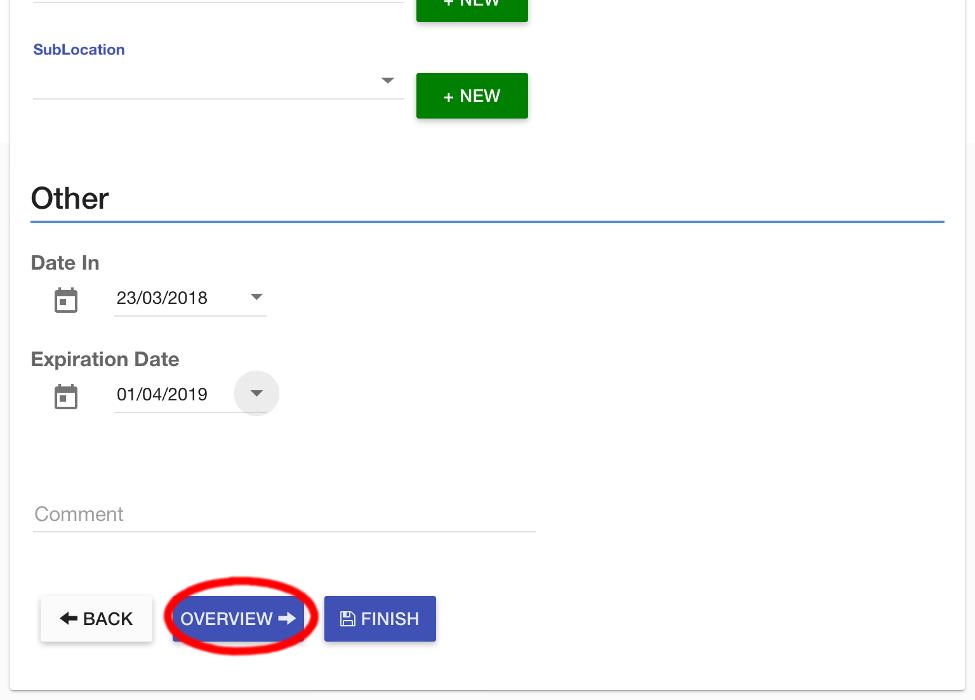
If your chemical is hazardous, you need to add hazard statements to the database entry.
To do this, select ‘OVERVIEW’.
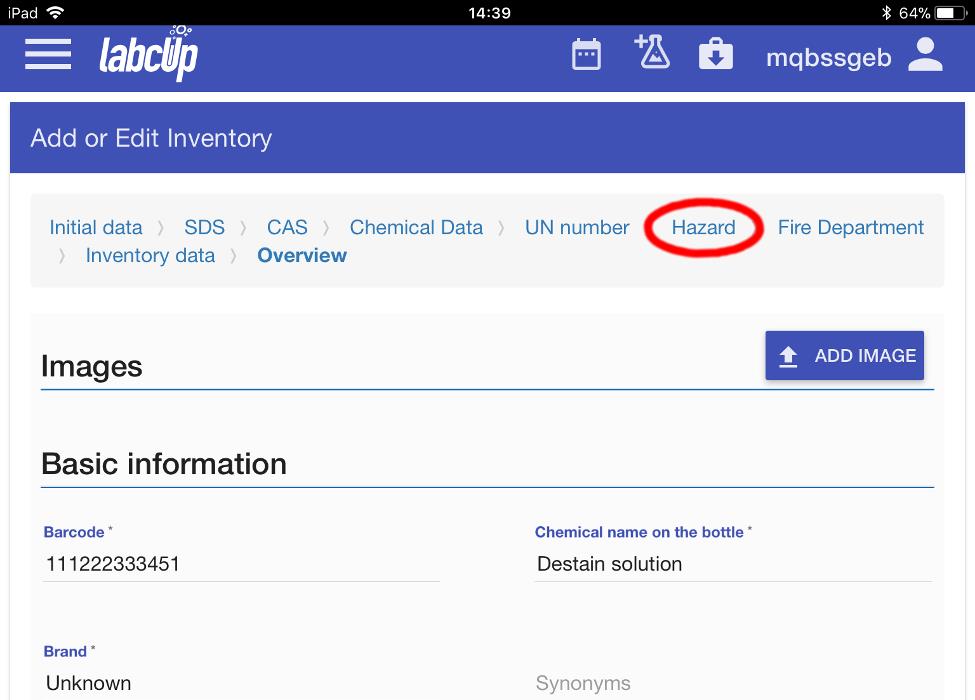
From the Overview section, select the ‘Hazard’ tab at the top of the screen.
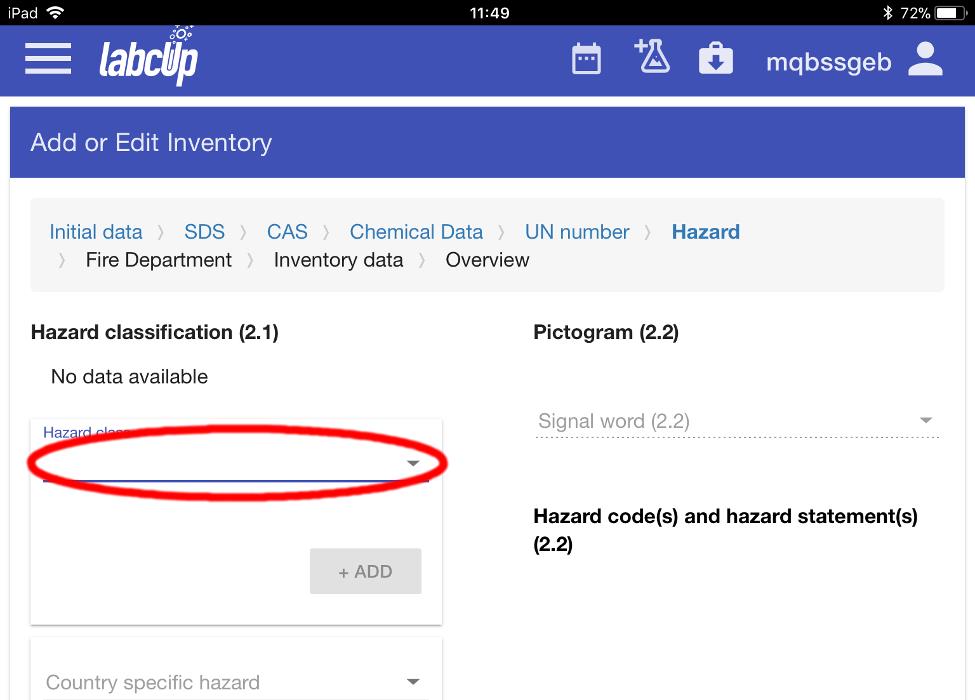
On the Hazard screen, select ‘Hazard class’ to select the appropriate hazard type you want to add to the item.
In the example, we are adding the hazard ‘Flammable liquid’.
Note: you can add multiple hazard classifications
- Physical hazards (i.e. Explosive/Corrosive)
- Health hazards (i.e. potential to cause cancer in humans, to irritate the skin or eyes)
- Environmental hazards (i.e. harmful to the aquatic environment)

Next, select the Hazard category. In this example, we will select ‘Category 2’.
Note: The category tells you about how hazardous the product is (that is, the severity of hazard).
Category 1 is always the greatest level of hazard (that is, it is the most hazardous within that class).
Category 2 within the same hazard class is more hazardous than Category 3 and so on.
LabCup will only allow you to select categories appropriate to the Hazard Class you have selected.
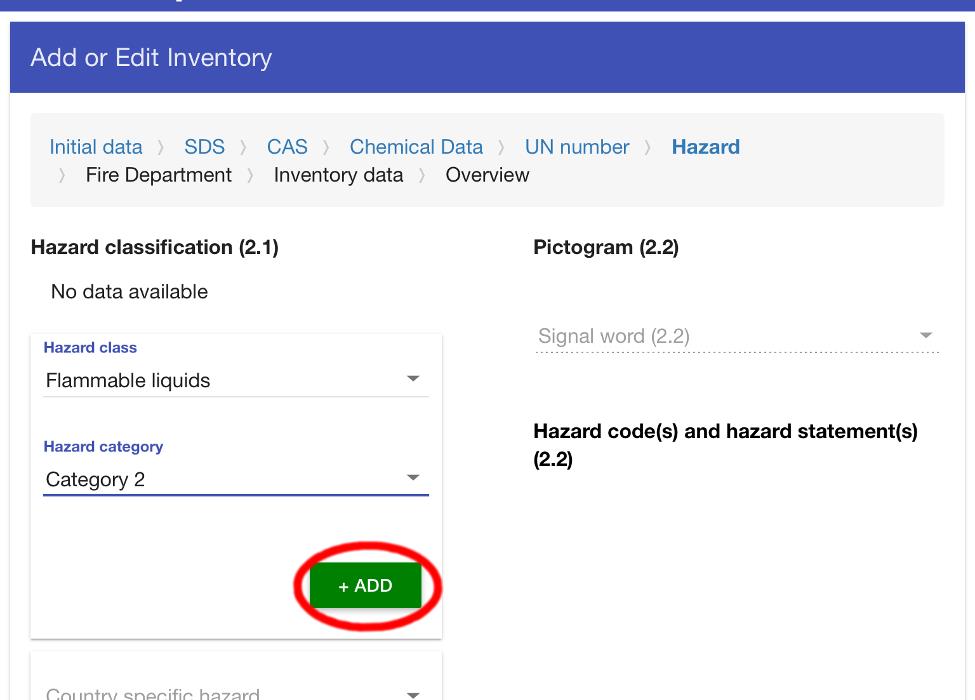
Then select ‘ADD’.
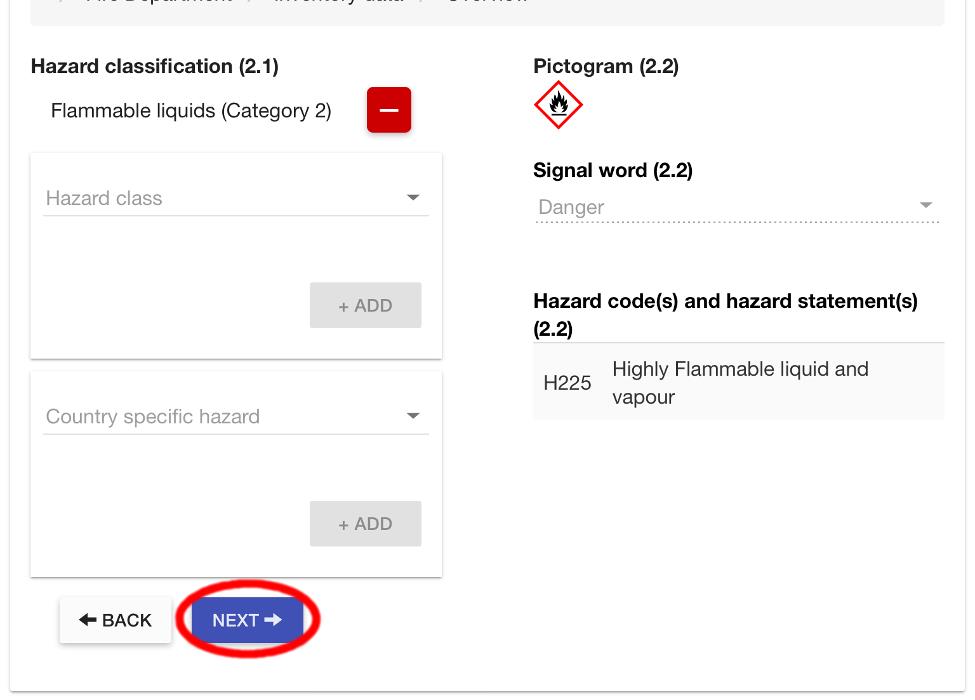
The appropriate pictogram appears in the item description.
You can continue to add hazards in the same way; or select ‘NEXT’ several times until you return to the final screen.
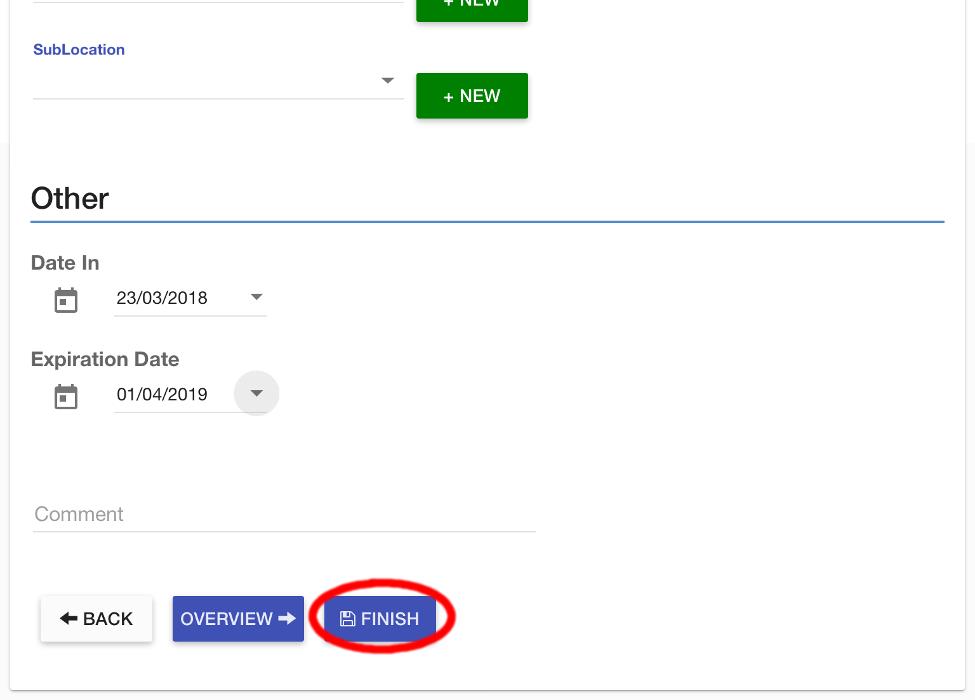
To finally save the item, select ‘FINISH’.
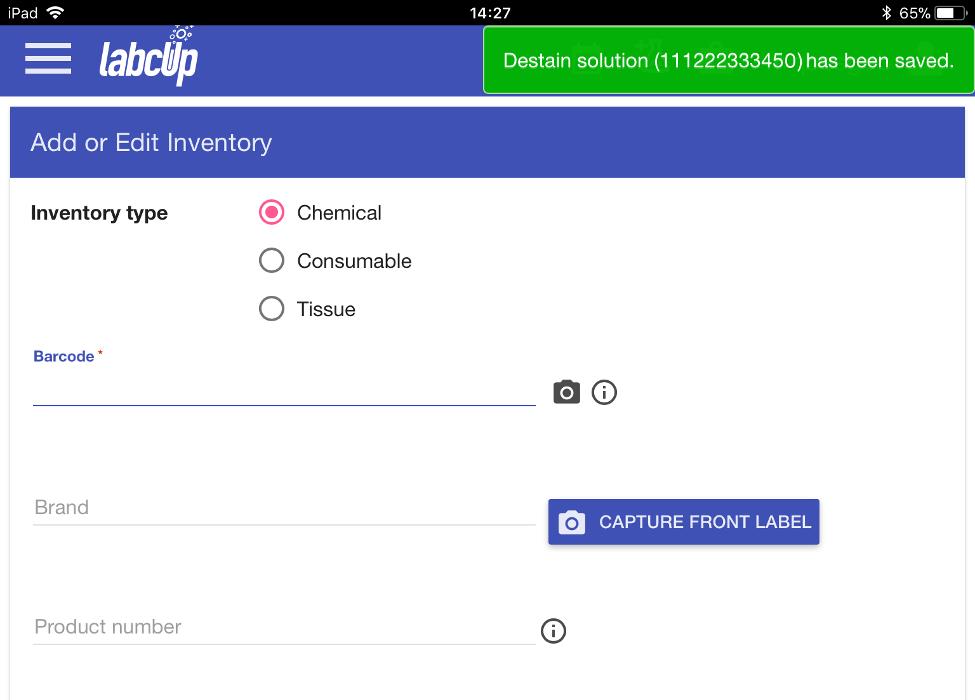
LabCup returns to the Add or Edit Inventory screen, ready to add another chemical, with a notification in the top-right that the chemical’s entry has been saved.