


Adding and editing locations within LabCup
The following walkthrough describes how to add new locations and edit existing locations within the LabCup software.
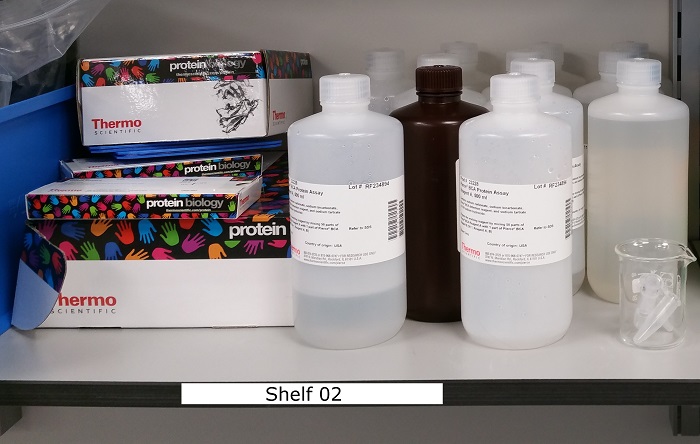
Use one of the storage location labels provided for your lab to mark the location you are about to add to LabCup.
Note: only use the labels for your lab, in order to avoid duplication of storage locations within the same lab. If you need more labels, please contact the FBMH LabCup team.
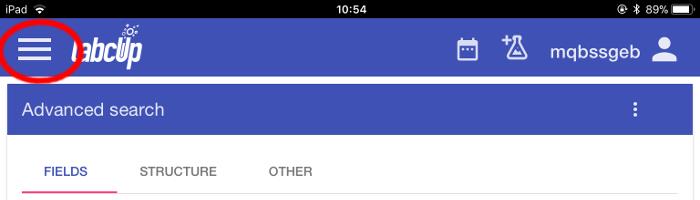
Open the LabCup app. Log in (using your University username and password). Select the menu button at the top left of the screen.
Note: your initial screen will vary from user to user, but the menu button should always be there
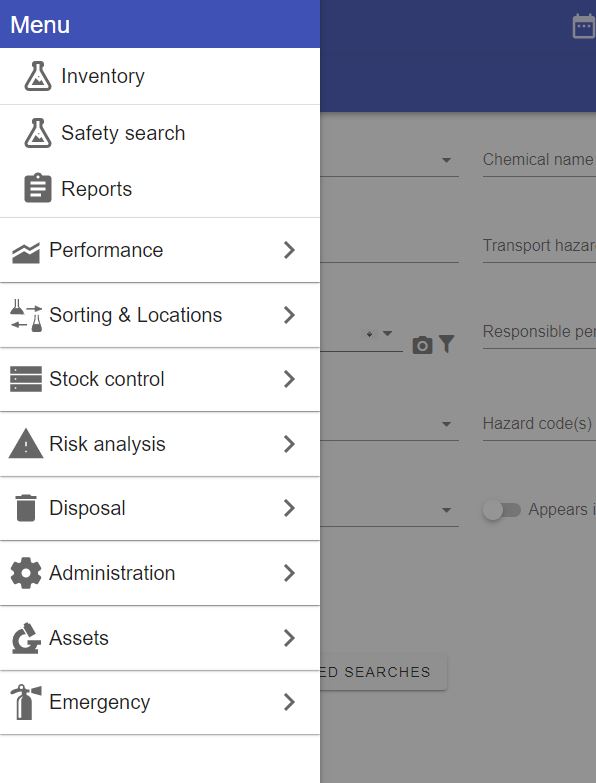
From the menu, select ‘Sorting & Locations’
Note: Some people have reported that they do not see the sorting submenu depicted. In this instance 'Edit Locations' should be seen directly in the list of menu items, select 'Edit Locations'
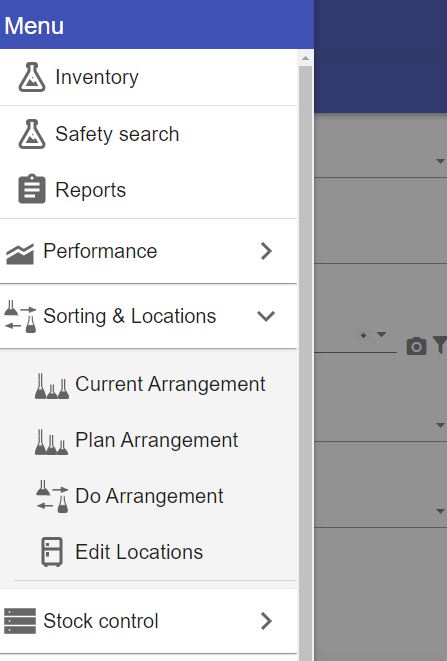
From the Sorting & Locations submenu, select ‘Edit Locations’.
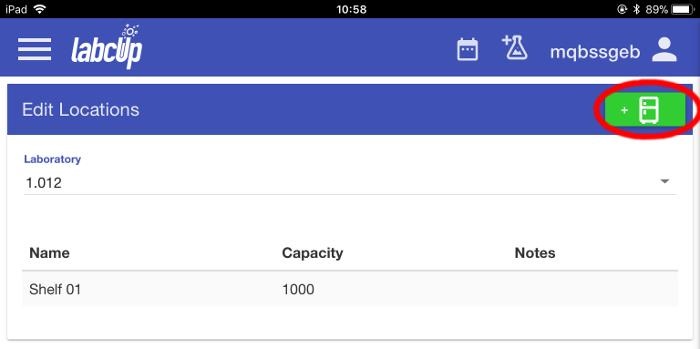
In this example of the ‘Edit Locations’ screen, you will see that Laboratory 1.012 already has a storage location: Shelf 01, which has a capacity of 1000 items.
Select the Green button to add a new location.
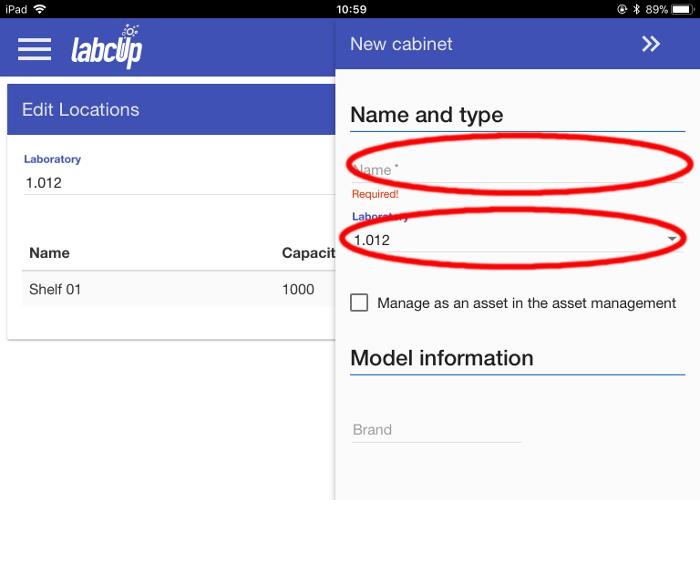
The ‘New Cabinet’ screen appears. This is a long screen which we will tackle in several sections.
First you must add the Name of your new storage location, Shelf 02, in the ‘Name’ field.
Open the ‘Laboratory’ dropdown to select the correct lab out of the ones assigned to you.
If the location is also an asset, e.g. a fridge, freezer, or other equipment that might require maintenance, you can tick the ‘Manage as an asset in the asset management’ box, but this is optional and can always be enabled later.
Likewise, if your storage location is branded equipment, it may be helpful to add the Brand name and Model number to provide extra information.
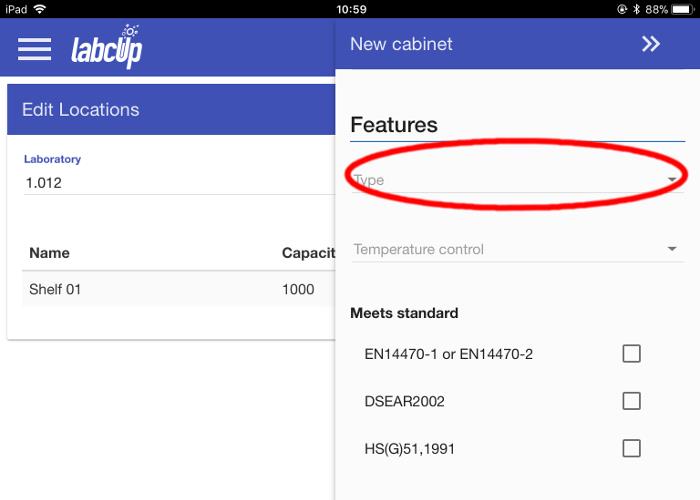
Scrolling down on the same screen, we come to the ‘Features’ section, which allows you to classify the type of storage.
Select the ‘Type’ dropdown.
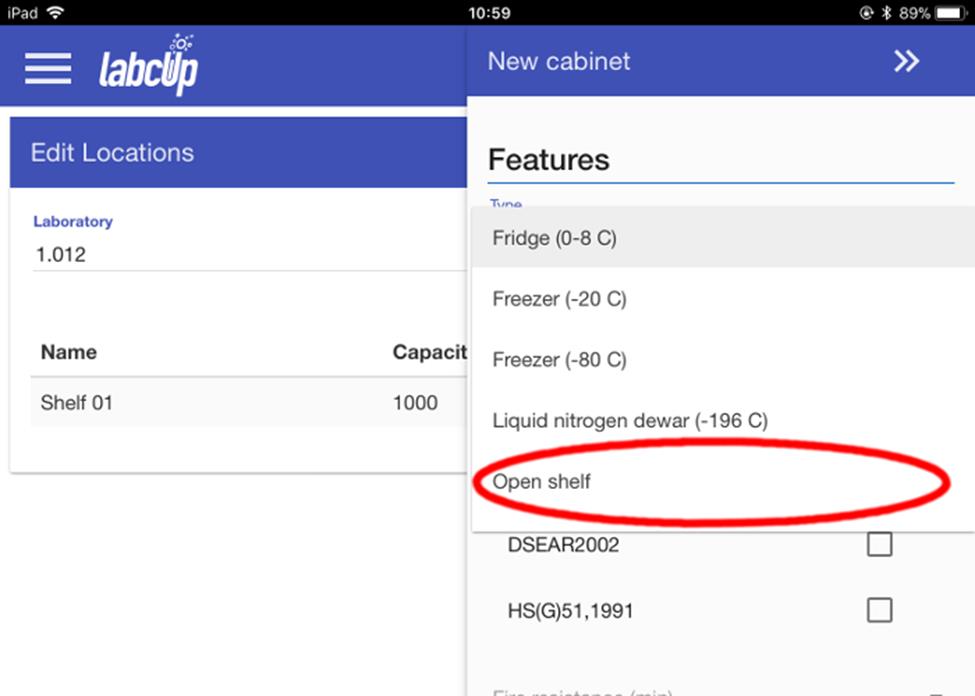
The ‘Type’ dropdown displays a list of possible types of storage (the list can be scrolled down to give more options)
Choose ‘Open shelf’, then scroll further down the page, past the options for specifying manufacturing standards
Note: if the storage location is a solvents cabinet (this can be picked from further down the ‘Type’ dropdown), you may want to enter the fire resistance time and other details from the technical specification.
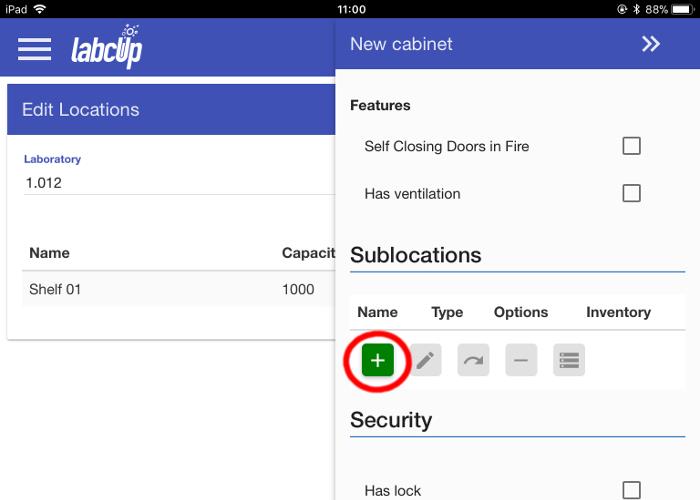
Within each storage location, sublocations can be defined using the green ‘+’ button. These can be delineations between sections of a shelf, simple storage containers, or boxes with gridded subdivisions. If your storage location is a cupboard or solvents cabinet, separate shelves can be defined as sublocations.
For our purposes, we don’t need any sublocations, so we can scroll past this section.
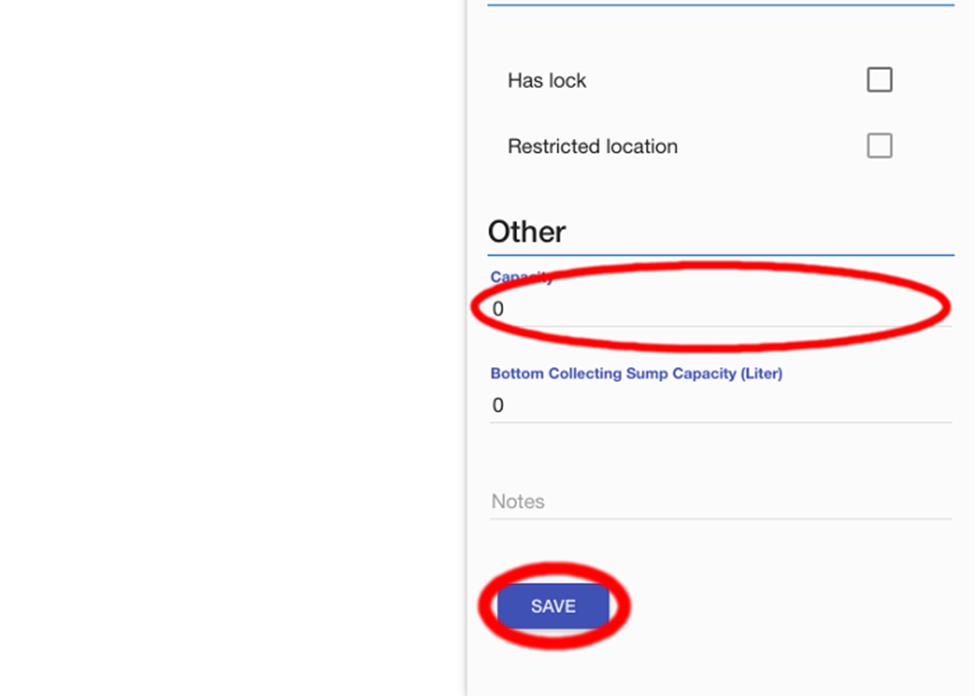
At the bottom of this screen we have to specify the Capacity of the location (the number of items it can accommodate)
If the location has a sump (a tray at the bottom designed to contain spills), there is the option to input the volume
Select ‘SAVE’
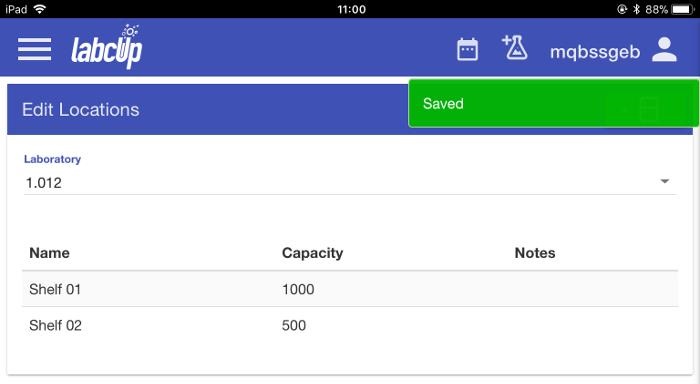
LabCup reverts to the Edit Locations screen and the new location is now listed.
You will now be able to add inventory items to it using either the ‘Add or Edit Inventory’ function or the ‘Quick add Chemicals’ function.