How to change a chemical's location
The following walkthrough describes how move a chemical from one location to another within LabCup.

Using the menu option at the top-left of the screen, select the ‘Inventory’ menu.
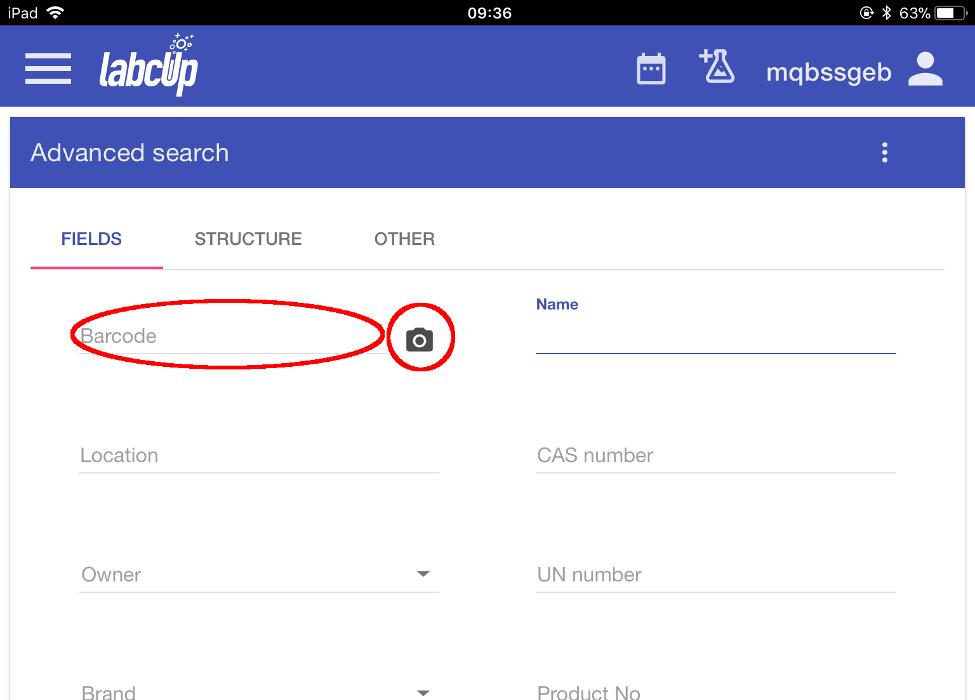
The ‘Advanced search’ screen opens.
Select either ‘Barcode’ to enter a chemical’s barcode number manually or the camera icon to scan a barcode.
Note: This is the same process as barcode scanning when entering a new chemical into the database

Click ‘Search’

At the bottom of the screen, the chemical with the specified barcode is listed.
Scroll down and select the entry on the list.

Select the three dots that appear at the right-hand end of the entry.

From the menu bar that appears, select the opposing-arrows icon.

In the window that opens, select the new location from the dropdown list.
Note: the Responsible person for the chemical can also be altered on this screen to another group member.

Select ‘MOVE’.

You are returned to the ‘Advanced search’ screen, with a message at the top-right indicating that the change has been applied.
The change should also be visible in the ‘Location’ column of the ‘Result’ section of this page.